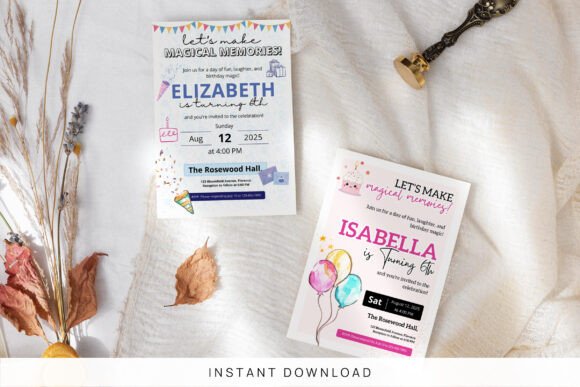
A kids birthday party flyer needs to do double duty — readable enough to post at a school or venue, personal enough to double as an invitation card. The 29 templates below cover PSD, Ms Word, Canva, and vector formats across 4×6, 5×7, and A4 sizing.
This kids party flyer library spans dozens of sellers, with new templates added every week. Most files are print-ready at 300 DPI with bleed included, and several ship as Canva-editable files for anyone who doesn’t own Photoshop.
See also: birthday invitation card for kids if you want more card-style options alongside these flyer layouts.
Quick Answer: This guide covers 29 kids birthday party flyer templates — PSD, Ms Word, Canva, and vector formats in 4×6, 5×7, and A4 sizes, including pizza-party, princess, and monster-themed variations. Each is editable and available for instant download.
Check the file format before buying — Photoshop (PSD) templates need Photoshop or Photoshop Elements to edit, while a handful of Canva or Ms Word options work without any design software installed.
All templates are digital downloads. Edit the text and swap in a photo, then print at 300 DPI or share the flyer digitally.
1. Free Birthday Invitation for Kids
A Canva-editable invite sized 5×7 inches with two colorful design variations, built for cartoon-style kids’ party invitations. Fully customizable colors and graphics, downloadable for print or digital sharing.
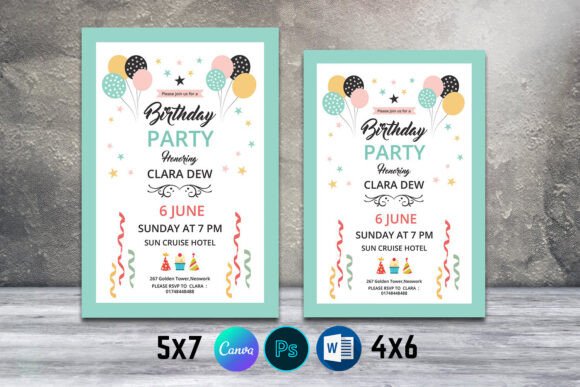
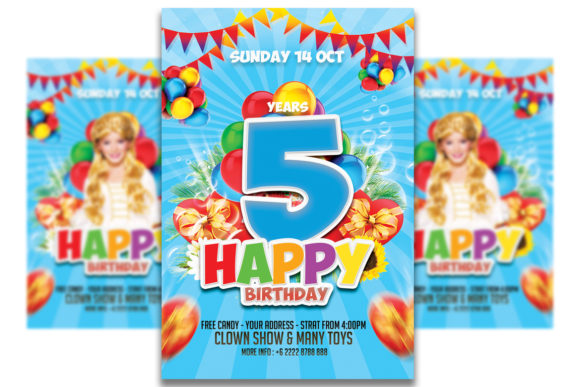
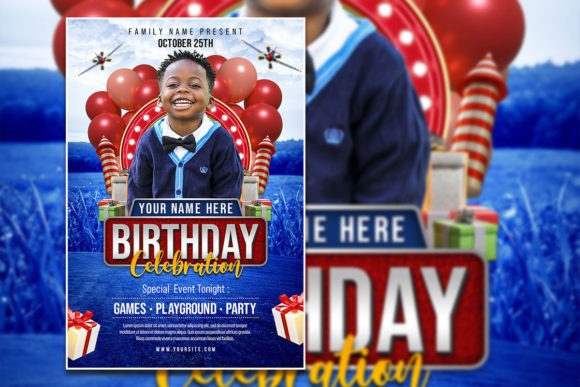
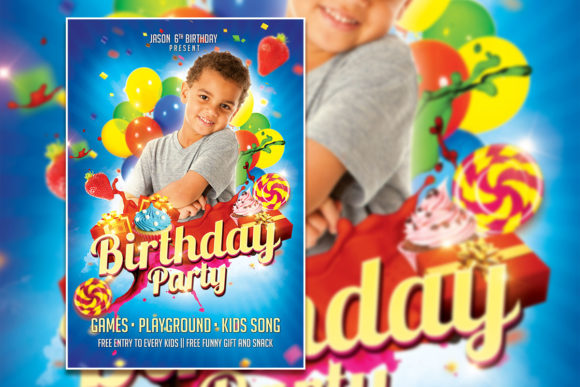
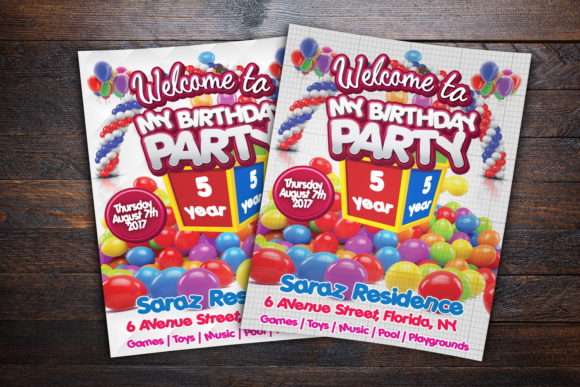
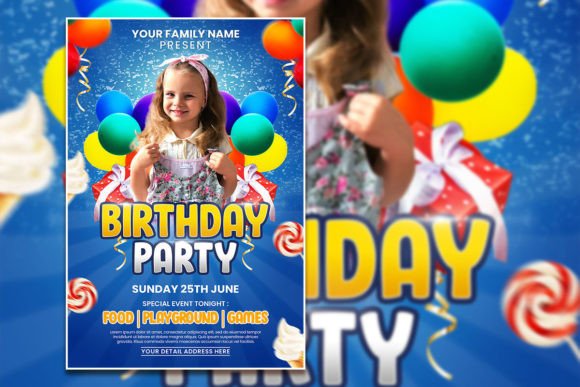
2. Birthday Party Flyer Template
A dual-size template (5×7 and 4×6 inches) in Ms Word and Photoshop formats at 300 dpi CMYK with 0.25 in bleed. Smart-object photo layer makes swapping in a photo straightforward without rebuilding the layout.
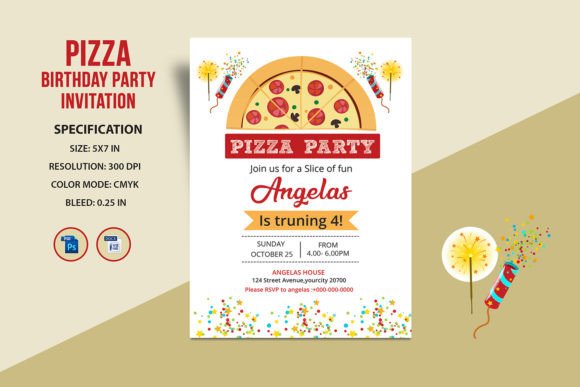
3. Birthday Pizza Party Flyer
A pizza-party themed flyer sized 5×7 inches in Photoshop and MS Word formats at 300 dpi CMYK. The pizza motif sets it apart from the generic cake-and-balloon layouts elsewhere in this list.
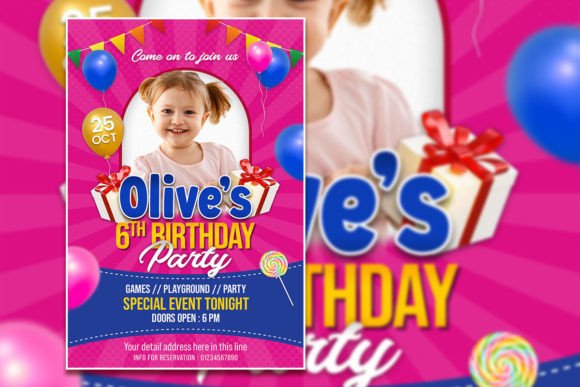
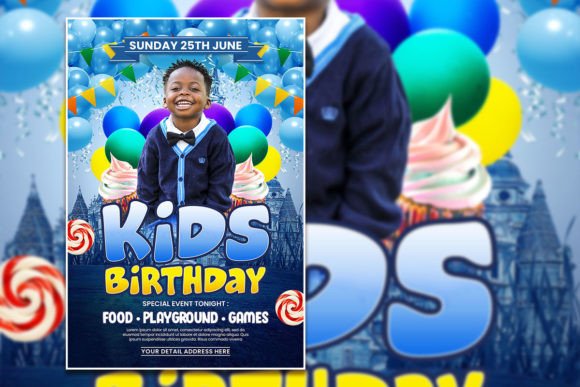
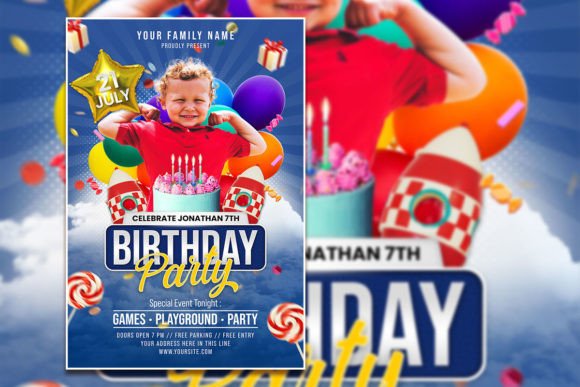
4. Birthday Party Invitation Flyer
A one-sided 5×7 inch flyer in Photoshop and MS Word formats at 300 dpi CMYK with 0.25 in bleed — a straightforward general-purpose kids party layout.
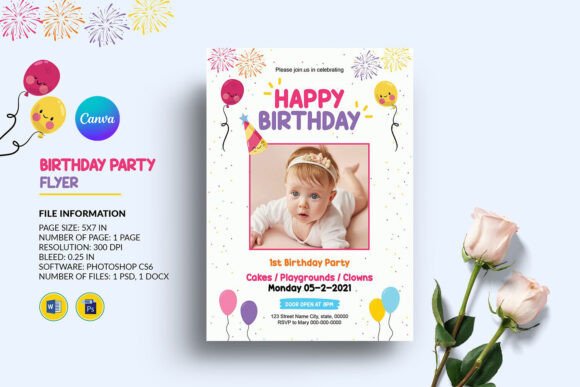
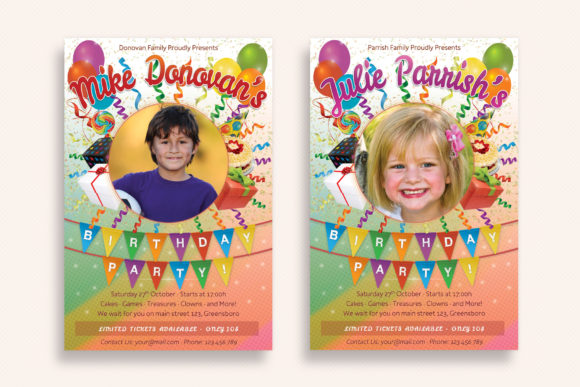
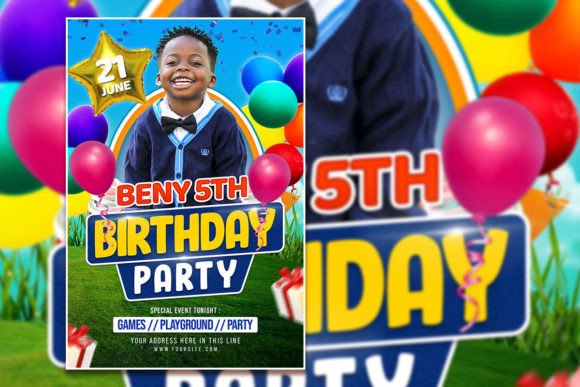
5. Kids Birthday Party Flyer – Volume 01
Includes two PSD versions — a boy design and a girl design — sized 4×6 inches with bleed, fully layered and named for easy editing. Doubles as an invite for other kid-focused events like sports festivals or prize award ceremonies.
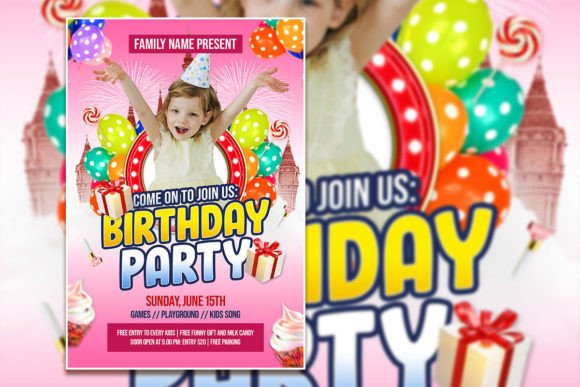
6. Kids Birthday Party
A layered PSD flyer sized 4.25×6.25 inches at 300 DPI CMYK with bleeds and guidelines included, organized into labeled layers and groups for quick customization.
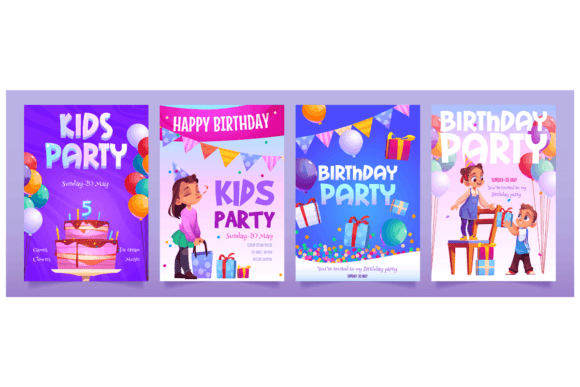
7. Kids Birthday Party Invitation Banners
A cartoon vector illustration showing a child in a festive hat receiving a gift, framed with confetti and garlands. The illustrated banner style works well when a hand-drawn look fits the party theme better than a photo-based layout.
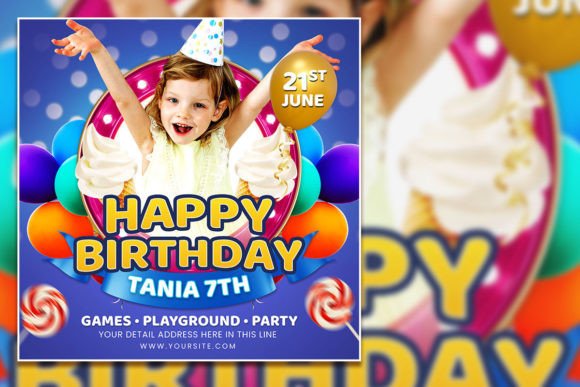
8. Kids Birthday Party Flyer or Poster
A fully editable PSD sized 2000x3000px (4:6 ratio) at 300 dpi RGB, with all text editable and a photo slot ready for a personal picture.
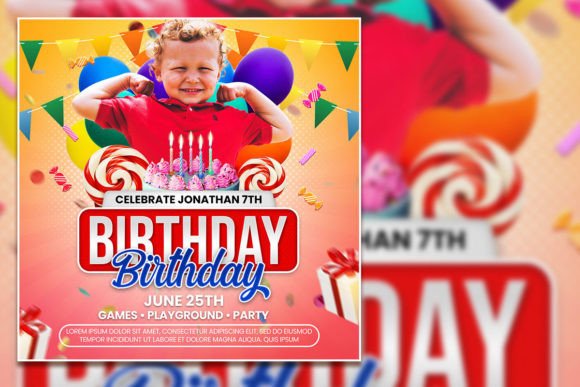
9. Kids Birthday Party Flyer or Poster
A square-format PSD at 2000x2000px (4:4 ratio) at 300 dpi RGB, bundled with a JPG preview and help file alongside the editable PSD.
10. Kids Birthday Party Flyer or Poster
A fully editable PSD sized 2000x3000px (4:6 ratio) at 300 dpi RGB — same editable structure as the other Eyestetix Studio listings, differing mainly in the visual layout.
11. Kids Birthday Party Flyer or Poster
A fully editable PSD sized 2000x3000px (4:6 ratio) at 300 dpi RGB with an easily swappable photo layer.
12. Kids Birthday Party Flyer or Poster
A fully editable PSD sized 2000x3000px (4:6 ratio) at 300 dpi RGB, part of the same Eyestetix Studio series with a distinct color scheme.
13. Kids Birthday Party Flyer Template
A 6×4 inch PSD with 0.25 in bleed at 300 DPI CMYK, fully layered and paired with a free font recommendation — a print-ready option that needs only a photo swap before sending to print.
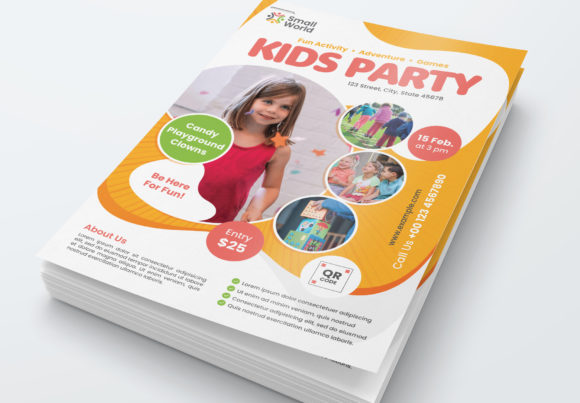
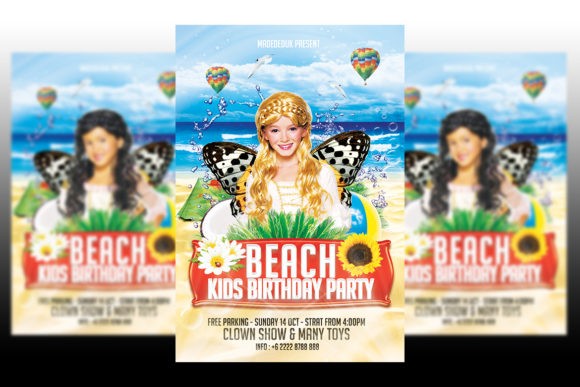
14. Kids Party Flyer
A full A4-sized PSD flyer (8.27×11.69 in) with bleed, built in CMYK at 300 dpi — the larger A4 format makes it a better fit for a wall-posted flyer than a mailed invitation card.
Want to see more kids party flyer styles? Browse All Kids Birthday Party Flyer Templates →
15. Kids Birthday Party Flyer or Poster
A fully editable PSD sized 2000x3000px (4:6 ratio) at 300 dpi RGB, following the same easy-edit structure as the rest of this series.
16. Modern Kids Birthday Party Square Flyer
A square PSD at 2000x2000px (4:4 ratio) at 300 dpi RGB with a modern layout style, distinct from the more traditional cake-and-balloon designs in this list.
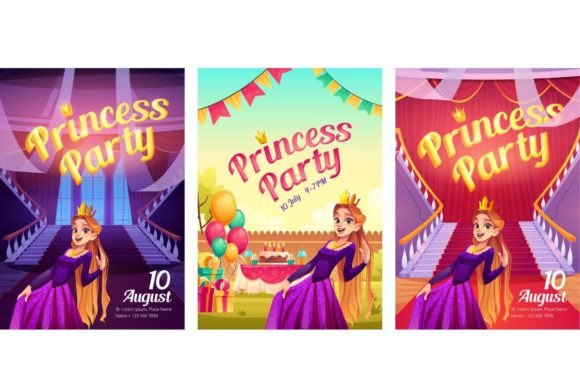
17. Princess Party Cartoon Invitation Set
A 3-design cartoon set featuring a girl in a crown and gown across a courtyard, vintage-dress, and palace-hallway scene, delivered as vector EPS plus JPG files. A themed pick specifically for a princess or royal-themed party rather than a generic layout.
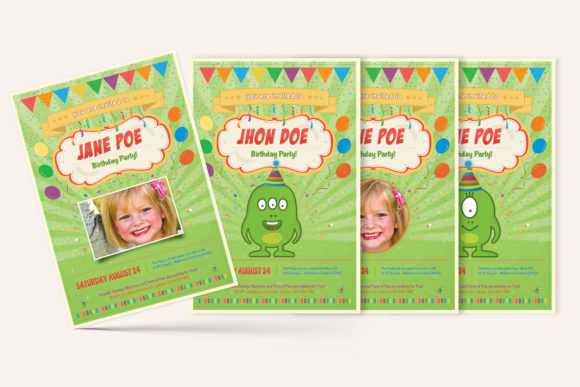
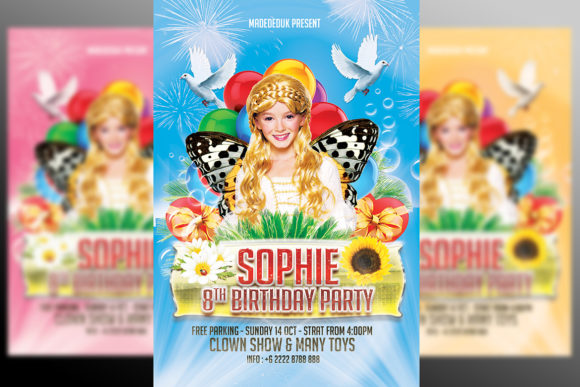
18. Kids Birthday Party Flyer – Volume 02
Includes four design versions — two photo-frame layouts plus a Funny Monster Boy and Funny Monster Girl variant — sized 4×6 inches with bleed. The monster-themed options add a playful angle beyond the standard photo-frame invite.
19. Kids Birthday Party Flyer or Poster
A fully editable PSD sized 2000x3000px (4:6 ratio) at 300 dpi RGB, the original entry in the Eyestetix Studio flyer-or-poster series.
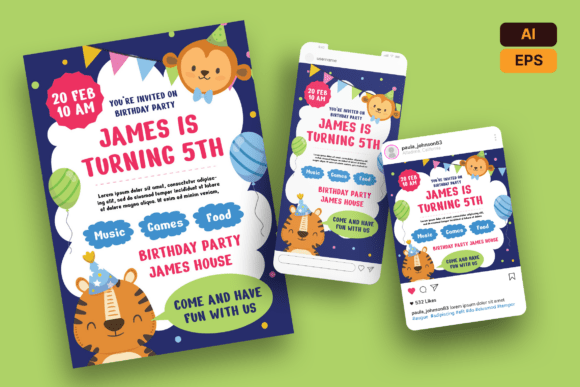
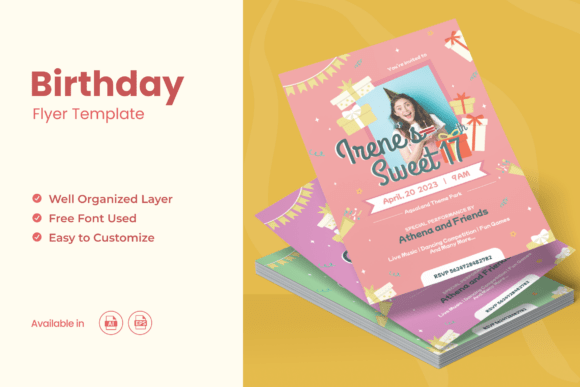
20. Kids Birthday Invitation Flyer Template
An illustrated A4 flyer with a birthday cake, balloon motifs, and bold party typography, delivered in Ai and EPS at 300 dpi CMYK with bleed included. The bright illustrated style is built to read well for both parents and event-planner use.
21. Kids Birthday Party Card
A 5×7 inch flyer with 0.25 in bleed, print-ready at CMYK 300 DPI, with grouped and fully editable text elements throughout.
22. Modern Kids Birthday Party Square Flyer
A square PSD at 2000x2000px (4:4 ratio) at 300 dpi RGB in a modern layout style, part of the same series as the other Modern Square Flyer listings.
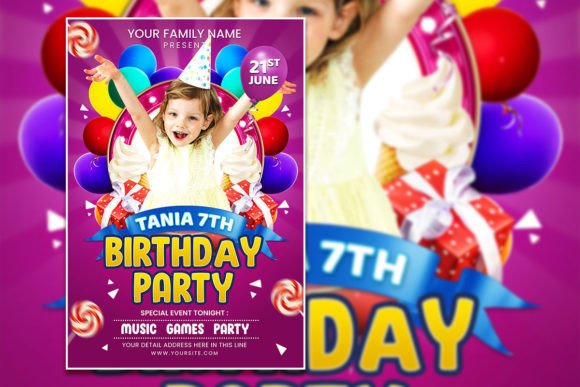
23. Kids Birthday Party Flyer
A layered PSD sized 4.25×6.25 inches at 300 DPI CMYK, styled for a night-club-style kids party rather than a home backyard event.
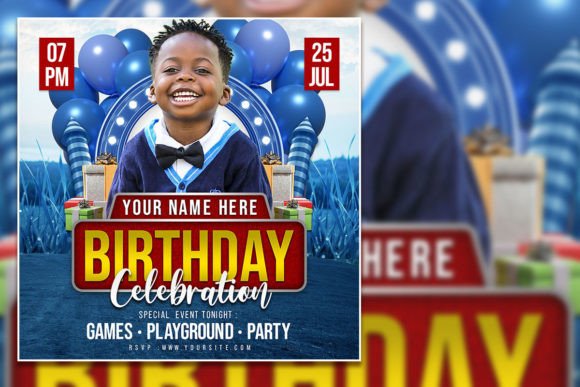
24. Kids Birthday Party Square Flyer
A square PSD at 2000x2000px (4:4 ratio) at 300 dpi RGB, editable text throughout with a swappable photo slot.
25. Kids Birthday Party Flyer or Poster
A fully editable PSD sized 2000x3000px (4:6 ratio) at 300 dpi RGB, another variant in the long-running Eyestetix Studio flyer series.
26. Kids Birthday Party Flyer
A 4.25×6.25 inch flyer built to promote a kids party at a venue, flexible enough to repurpose for other kid-focused events beyond a birthday.
27. Modern Kids Birthday Party Square Flyer
A square PSD at 2000x2000px (4:4 ratio) at 300 dpi RGB, rounding out the Modern Square Flyer series with its own distinct color palette.

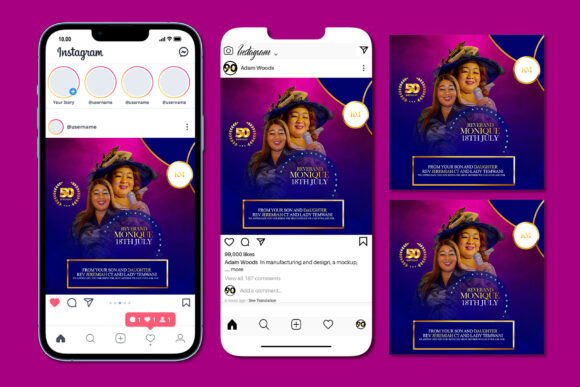
28. Pastors Birthday Flyer Template
A 1667x1667px PSD at 300 DPI built for milestone and adult birthday events as well as kids’ celebrations, with smart-object layers for quick photo and text swaps.
29. Birthday Party Flyer Template
An A4-sized flyer in Ai and EPS format at 300 dpi CMYK with bleed included, styled for general birthday and surprise-party promotion beyond just a kids theme.
For matching card-style designs, see our birthday invitation card for kids collection.
Browse All Kids Birthday Party Flyer Templates →
Key Takeaways
- Match the file format to your software first — PSD needs Photoshop or Elements, while Canva and Ms Word options work without design software.
- 4:6 and 4:4 ratio flyers are sized for standard photo printing, while A4 templates suit a wall-posted flyer better than a mailed invite.
- Themed options like pizza-party, princess, and monster designs help the flyer match a specific party theme instead of a generic cake-and-balloon layout.
- Several near-identical Eyestetix Studio listings exist in this list — compare the actual visual layout before choosing rather than the title alone.
Frequently Asked Questions
Do I need Photoshop to edit these flyers?
Most templates are PSD files that need Photoshop or Photoshop Elements. A few in this list are Canva-editable or built in Ms Word, which work without any paid design software.
What size should I choose for a mailed invitation vs. a posted flyer?
4×6 and 5×7 inch templates work well for mailed or handed-out invitations. A4-sized templates are better suited to a flyer posted at a school, community board, or venue.
Can I add my own photo to these templates?
Yes — most PSD templates include a smart-object photo layer, so you can drop in your own picture without disturbing the rest of the layout. Preview photos are not included with the purchase.
Are these flyers only for kids’ parties?
Most are designed specifically for kids’ birthdays, but a few — like the Pastors Birthday Flyer Template — are flexible enough for adult or milestone birthday events too.
Can I reuse the same flyer template for more than one party?
Yes — since the text and photo layers stay editable in the source file, you can update the name, date, and photo each time and reprint, rather than buying a new template for every event.