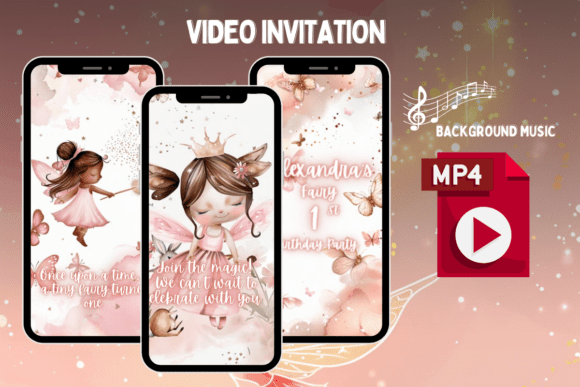
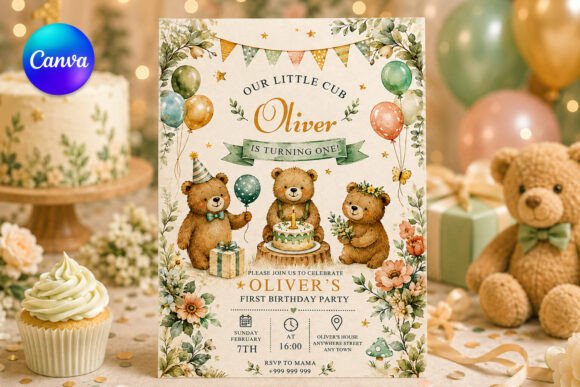
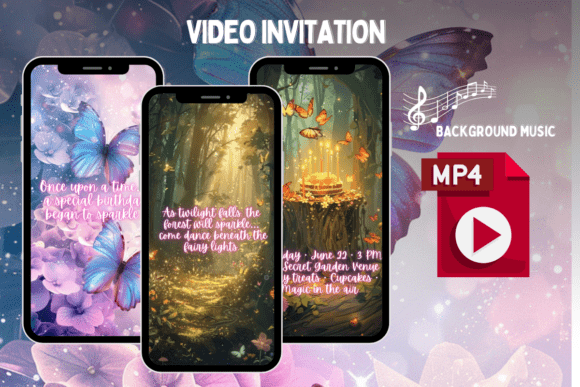
A fairy birthday starts as one search you type with the laptop on your knees: a fairy birthday invitations template, free, printable, done tonight. It ends as a table with nine printed things on it, and eight came from somewhere else.
You will find the invitation in a minute. Keeping the cake topper, the bag tags, the water labels and the thank you card in the same fairy is the hard part, and it is the part your photographs show.
So this page does the invitation properly first, with the size, the bleed and the envelope written down, then hands you the rest of the set.
Quick answer
Set your invitation at 5 by 7 inches with an eighth of an inch of bleed on every side, so the file measures 5.25 by 7.25 and mails in an A7 envelope.
Pick your fairy first: garden, woodland or pixie. Then take one set of fairy elements and one script font, and build every other piece from those two.
A free template covers your invitation. It does not cover the other eight pieces, and it will not print on heavy card at home.
The short version: one element set plus one font is what makes your set look like a set.
For the elements, the Watercolor Magical Garden Pink Fairies pack carries 46 pieces at the same resolution, which is enough for all nine of your items. If the printing is your problem rather than the design, order custom birthday invitations and skip the home printer.
The fairy invitation itself: size, bleed, and the envelope it fits
Most fairy invitation templates come in one of two sizes, and the size you pick decides your envelope, not the other way round.
- 5 by 7 inches. The usual party invitation. Takes an A7 envelope, the one cut for a 5.25 by 7.25 card.
- 4.25 by 5.5 inches. A quarter of a Letter sheet, four to a page. Takes an A2 envelope.
Bleed is what free templates skip, and it ruins your trim. Artwork running to the edge needs an eighth of an inch extra on all four sides, so you set up a 5 by 7 card as a 5.25 by 7.25 document and trim down. Without it you get a white hairline, or you cut into a wing.
Decide the envelope before the design. The envelope sets your card size, the card size sets the bleed, and the bleed is what the free file forgot.
Two more numbers. Keep your text a quarter of an inch inside the trim line, because your trimming is never straight. And I print at actual size, never fit to page, or the 5 by 7 card lands nearer 4.8 by 6.7 and misses its envelope.
| Card size | Document size with bleed | Envelope |
|---|---|---|
| 5 by 7 in | 5.25 by 7.25 in | A7 |
| 4.25 by 5.5 in | 4.5 by 5.75 in | A2 |
If the bleed and the envelope are the part you would rather hand over, custom birthday invitations arrive trimmed with envelopes that match. An invitation template that prints without cut edges covers the trim in more detail.
A fairy first birthday: where the age goes on the card
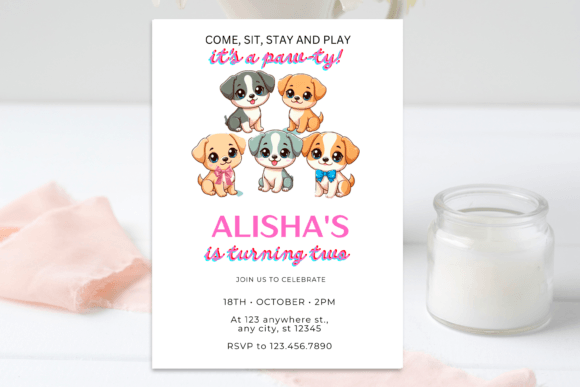
A fairy first birthday invitation template is its own job, not a smaller version of the same card. You have to put the number one somewhere, and most fairy templates were drawn without a place for it.
Three placements work, in this order.
- In the headline. “Luna is turning one” instead of a numeral. Nothing in your layout moves.
- Behind the name. A large soft one in the wing colour, faded back so your text stays readable on top.
- In a bottom corner with the date. Safest when the artwork already fills your card.
One font across your whole set is the rule this page keeps returning to, and a first birthday card is where you break it first. The gentler of the two scripts below is Fairy Cute.
For a one year old your guest list is adults, so your card carries a start and an end time: the nap decides the party.
What the free fairy printable actually gives you
Fairy birthday party invitations free printables come in three shapes, and you cannot swap one for another.
- A flat PDF. You print it and write the details by hand. Fine for six guests, tedious for twenty.
- An editable template, usually in Canva. You type the name and date and keep the artwork. The one you probably want.
- A PNG of the artwork only. No layout, no text boxes: you build the card around a picture.
All three share the same limits: one fixed size, personal use only, and nothing beyond the invitation itself.
That last one is worth a number. Of eight fairy party files that clear a demand check across seven needs, five are fonts and two are element sets; across the cake topper, banner and bag tag branches, nothing clears it. The matching fairy set you want does not exist as a download. It exists as one element pack, one script, and an afternoon.
The rest of the set: nine things that end up on the table
Fairy birthday party invitations arrive with eight relatives. Here is your list, in the order it tends to become urgent.
| Piece | Usual size | What it needs from the set |
|---|---|---|
| Invitation | 5 by 7 in | The full scene |
| Cake topper | 4 to 6 in wide | One fairy, cut out, on card |
| Banner letters | 5 by 7 in flags | The font, large |
| Bag tags | 2 by 3.5 in | One small element plus a name |
| Water bottle labels | 8 by 2 in | A repeating border |
| Food tents | 3 by 2 in folded | The font, small |
| Thank you card | 4.25 by 5.5 in | A single fairy and white space |
| Welcome sign | 8 by 10 in | The whole scene again, bigger |
| Envelope liner | Cut to the envelope | A pattern, no text |
Read the right-hand column and your shopping list shrinks to two things: fairy elements at a resolution that survives the welcome sign, and one font that works at banner size and at tent size. For the topper, cake topper designs shows how big the fairy has to be to read across a table.
The welcome sign caught me out. An element crisp at 5 by 7 goes soft at 8 by 10, so watch resolution, not the file count in a pack.
The two files the whole set runs on
These are your ingredients, not nine downloads.

Watercolor Magical Garden Pink Fairies
Forty-six transparent PNG elements at 300 DPI: fairies, houses, butterflies, garden pieces. Enough for all nine items without repeating a fairy, and sharp enough for your 8 by 10 sign.
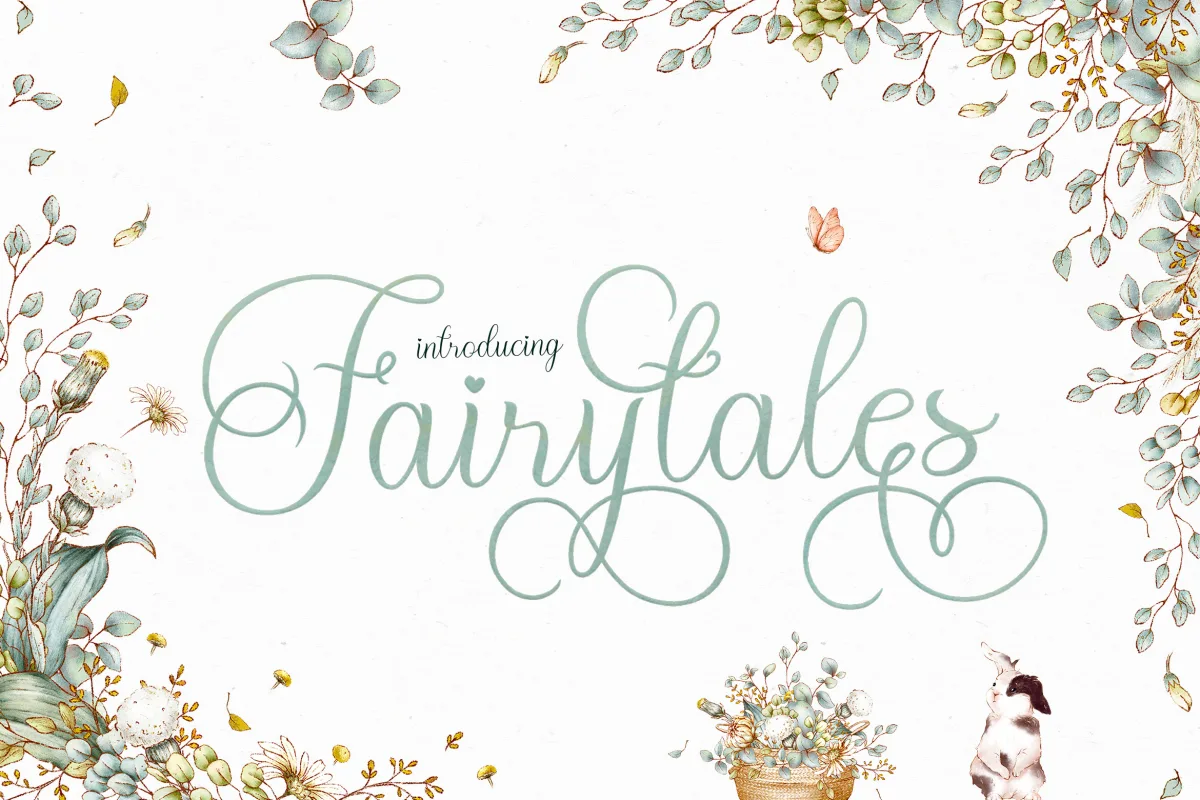
Fairytales Script Font
A stroke neither hairline nor heavy, so it holds on your banner letters and still reads on a food tent. The swashes are PUA encoded, so you can reach the long tails.
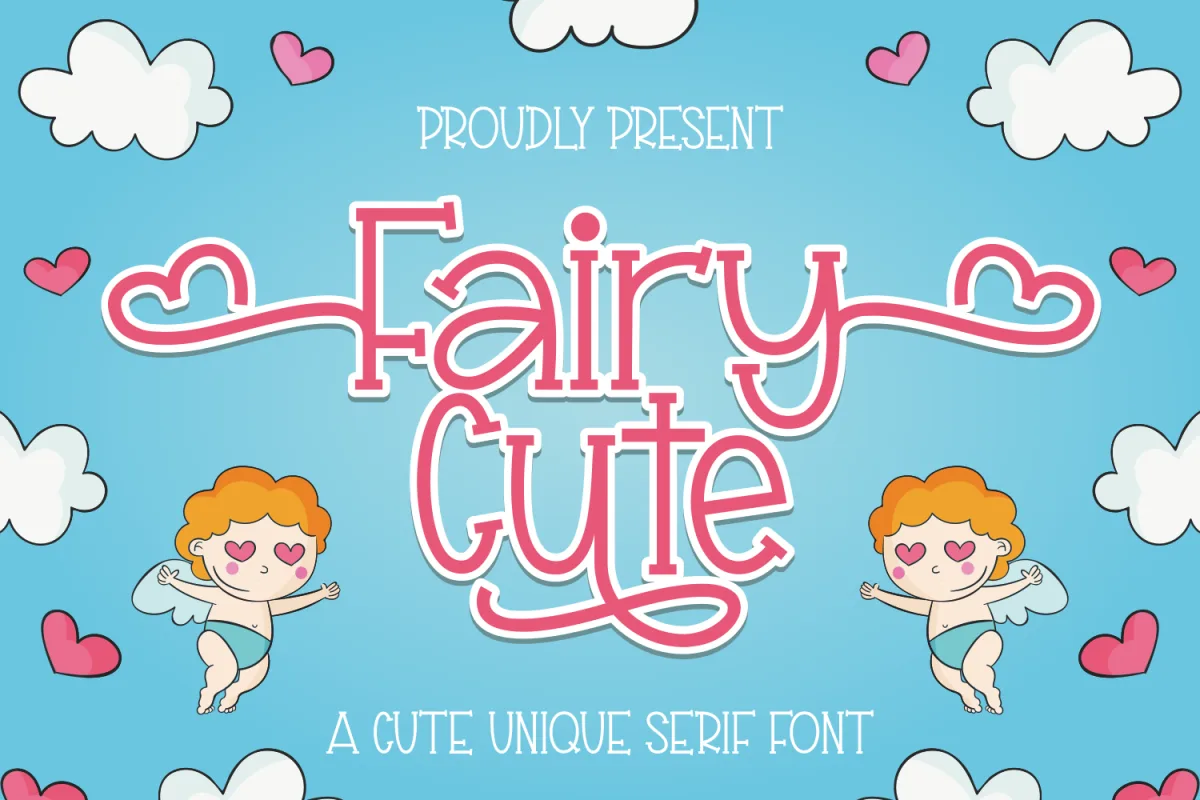
Fairy Cute Font
Rounder and softer, curls instead of long tails. Your pick for a one year old’s party, where you want gentle lettering rather than elegant.
One style that holds: a set of elements and a single font
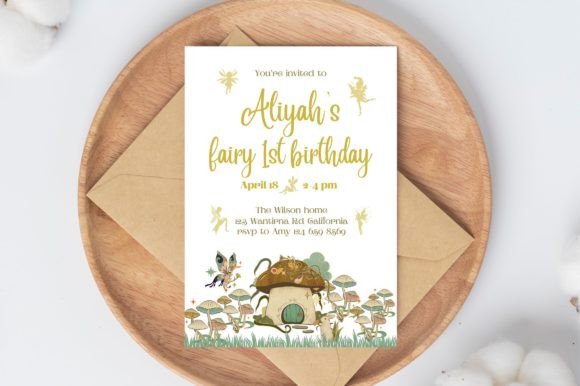
Your fairy theme birthday invitation looks like part of a set only if four rules hold across all nine pieces. They are boring, and they are the whole trick.
- One font for names and numbers, one plain font for details. The script does the name and the age. A simple sans does your date, address and time, because a script at eight point is unreadable on a food tent. Fairytales Script survives both ends.
- Three colours, picked off the artwork. Pull them from the fairy with your colour picker: a wing pink, a leaf green, a deep tone for text.
- One element per small piece. Your invitation gets the scene, a bag tag gets one butterfly. Crowding a small piece is what reads as homemade.
- The same margin on every edge. Different margins read as different sets even when your artwork matches.
Starting each from a blank page is how your fonts drift.
Garden, woodland, or pixie: pick the look before the files
Fairy is not one aesthetic, and mixing two is the commonest reason your table looks busy.
- Garden fairy. Watercolour, pink and green, butterflies, flowers, soft edges. A fairy garden birthday invitation reads youngest and photographs the best indoors, so it is your safe choice for a first or second birthday, and it is what the watercolour fairy pack gives you.
- Woodland fairy. Mushrooms, moss, toadstool houses, browns and deep greens. This is the fairy tale birthday invitation end of the theme: you need darker text and heavier paper, and it suits an outdoor party.
- Pixie or sparkle fairy. Glitter trails, wands, stars, a brighter palette. Reads older, roughly five and up, and it is the one that tempts you into a second font. Do not.
I choose the look, then the files. The other order ends in a woodland invitation and a sparkle topper.
What to write on a fairy invitation, line by line
Your wording slot is the same on every party invitation. The fairy theme only changes your top line.
- The invitation line. “A fairy party is being planned for Luna.”
- Who and what age. First name only. Age in words for one and two, numerals from three up.
- Date and day. Write the day out: Saturday 14 March. People read the day, not the number.
- Start and end time. Both. With toddlers your end time is the difference between two hours and four.
- Where. Street address, plus “in the back garden, so bring wellies” if you are outdoors.
- What to wear. “Wings welcome.” This is your fairy-specific line, and it is the one most often left off.
- Reply to. A name and a phone number, not an email.
Seven lines, in that order, and I keep them in it. If your layout will not hold them, your font is too large, not your card too small. Typing them once and letting a printer set the rest is what custom birthday invitations are for.
When the printer at home is not the answer
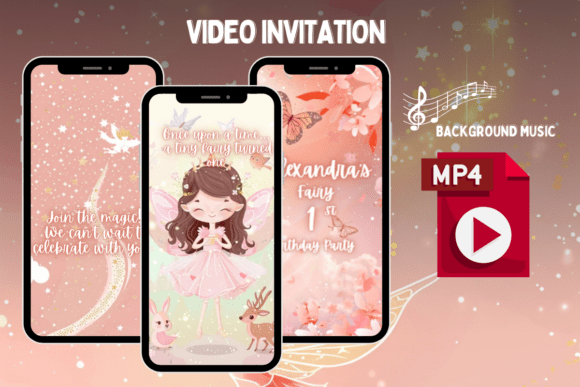
Your fairy birthday invitations are the one piece of the set that leaves the house and goes into somebody else’s hand. That makes them the one piece where your home printing shows.
Most home printers take 200gsm at best before the sheet jams or the feed rollers mark the surface. Three other things your printer will not do:
- Trim cleanly to the bleed. Your scissors wobble, and it shows along a 7 inch edge.
- Round the corners. A corner punch handles twenty cards, not forty; the depth drifts as your hand tires.
- Match the envelope. A white envelope under your pink card is the detail that reads as homemade.
So I split it. Print the eight pieces that stay in your house at home, where nobody inspects them: tags, labels, tents, banner and sign. Have the invitation printed properly, or order custom birthday invitations with names set and envelopes included. Keeping it at home costs you paper: buy the heaviest stock your printer takes and use a guillotine.
Birthday tags that fit a standard punch covers tag sizes and hole placement, a blank invitation you type and print is your faster route this weekend, and paper crafts for the night before is where you land if the party is tomorrow.

Questions people ask before they print
What size is a fairy birthday invitation?
Five by seven inches, set up as 5.25 by 7.25 so you get an eighth of an inch of bleed. It mails in an A7 envelope.
Can I print birthday invitations at home?
Yes, up to about 200gsm. Print at actual size, test one sheet, use a guillotine.
How do I write a simple birthday invitation?
Seven lines: the invitation, name and age, day and date, times, address, what to wear, who to reply to.
How far in advance should I send birthday invitations?
Three weeks, four near a school holiday.
Where can I print my own invitations?
Any print shop taking 5 by 7 on 250gsm, or an online printer with matching envelopes.
Are free fairy invitation templates editable?
Some are. A flat PDF is not, a Canva template is, a PNG leaves the layout to you. Check which you are downloading.
Can I sell what I print from a free fairy template?
Usually not: free sets are personal use only. Read the licence on every file you download.
What font goes with a fairy theme?
One script for the name and age, one plain sans for your details.
Do I need a cutting machine for the cake topper?
No. A printed fairy on card, cut out and taped to two skewers.
Want your whole table in one fairy? Start from the watercolour fairy elements and one script, or have the invitation itself printed as custom birthday invitations while you make the rest.
Key takeaways
- Set your invitation at 5 by 7 inches with an eighth of an inch of bleed, so the file is 5.25 by 7.25 and fits an A7 envelope.
- Nine printed pieces end up on your table. They need two ingredients, not nine downloads: one element set and one font.
- The matching fairy set does not exist as a single download. Fonts and element packs are what clear a demand check; toppers, banners and tag files do not.
- Pick garden, woodland or pixie before you pick files. Mixing two is what makes your table look busy.
- Build your invitation first and make every other piece by deleting from a copy of it.
- Your printer stops at about 200gsm. Invitations go into other people’s hands, so that is the one piece worth having printed for you.
Short on evenings? Have the invitations printed for you and make the rest of the set at home.