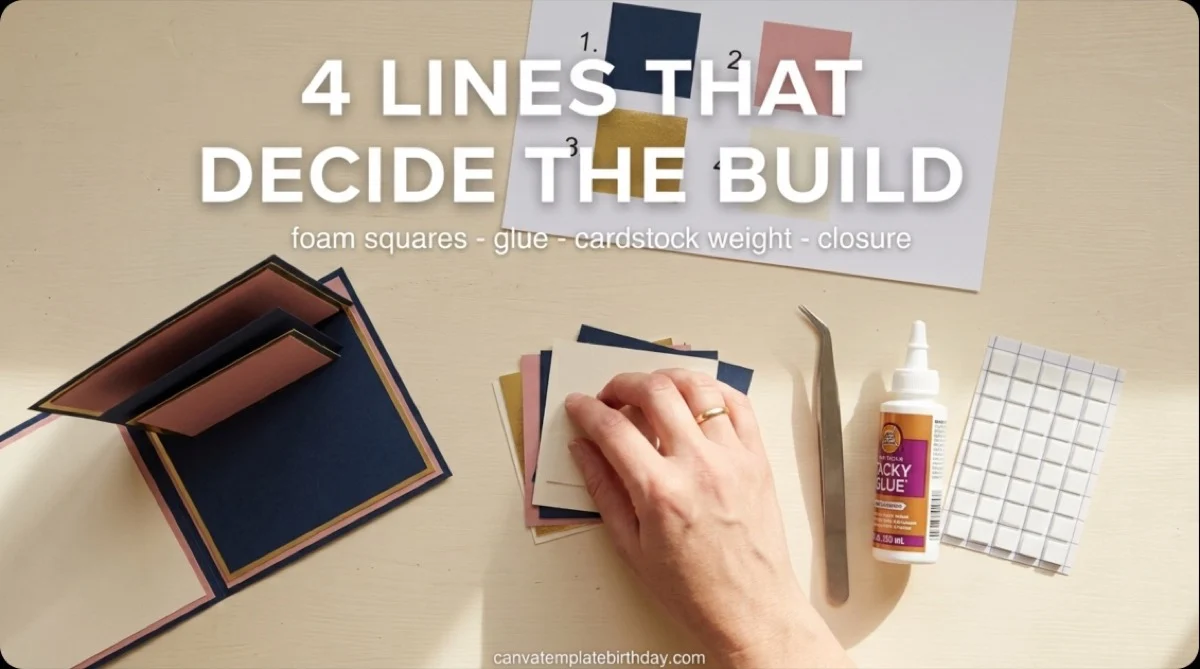
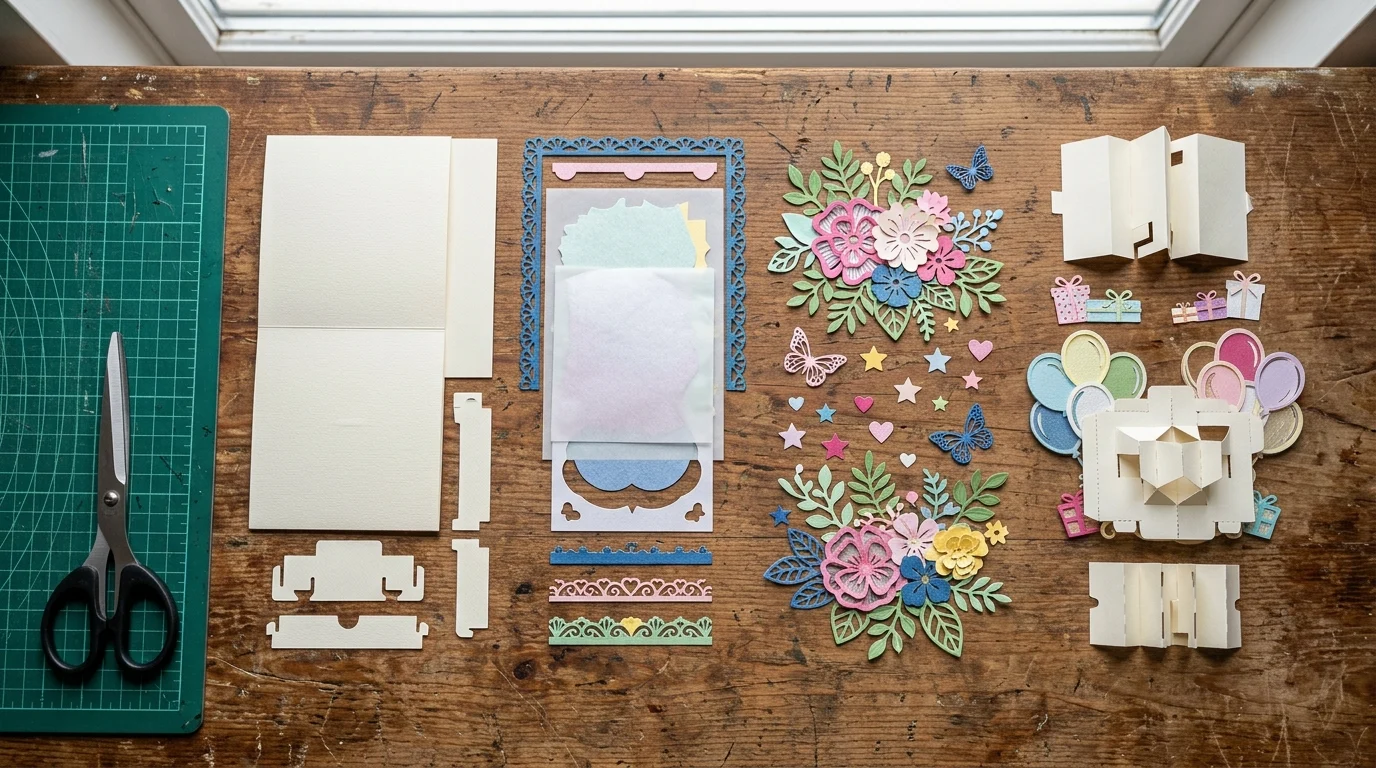
Everyone reads the paper list. Almost nobody reads the four lines under it, where a 3D birthday card tells you what it actually does: string means it spins, a velcro dot means it stays shut, wooden dowels and fairy lights mean a centrepiece, not a card.
I wrote this so you do not discover at eleven at night that the design needed foamcore. Four builds below, glue to hardware.
Quick answer
 Pin it
You cut the paper, then you assemble in layer order from the PDF legend, using foam squares wherever a piece floats above the one beneath it.
What decides your evening is not the cutting, but the short non-paper list at the bottom of the supply sheet: glue only, glue plus a mechanism, or glue plus structural material you have to buy. Read it before you buy the file.
Where to start: the Carly Greeting Card legend names all eighteen sheets before you open a paper drawer, which is the fastest way to see whether tonight is realistic.
The last four lines of the supply list are the specification
 Pin it
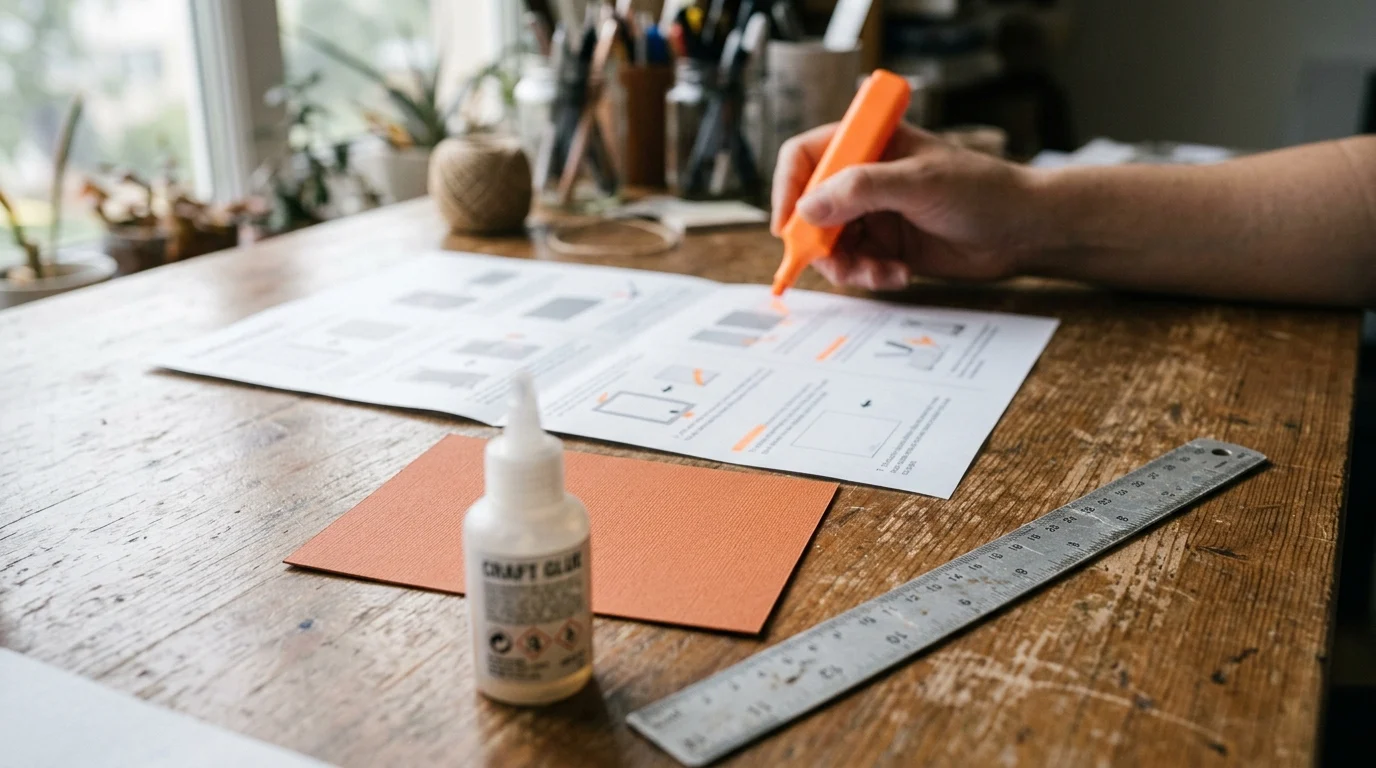
Layered card files come with two lists stacked into one. Above, you get cardstock, named and sized. Below, in smaller type, you get everything that is not paper, and that is the list I always read first, before I open a drawer.
Compare two designs that both finish at 7 high by 5 wide:
- One ends with glue and optional foam squares, so you buy nothing extra.
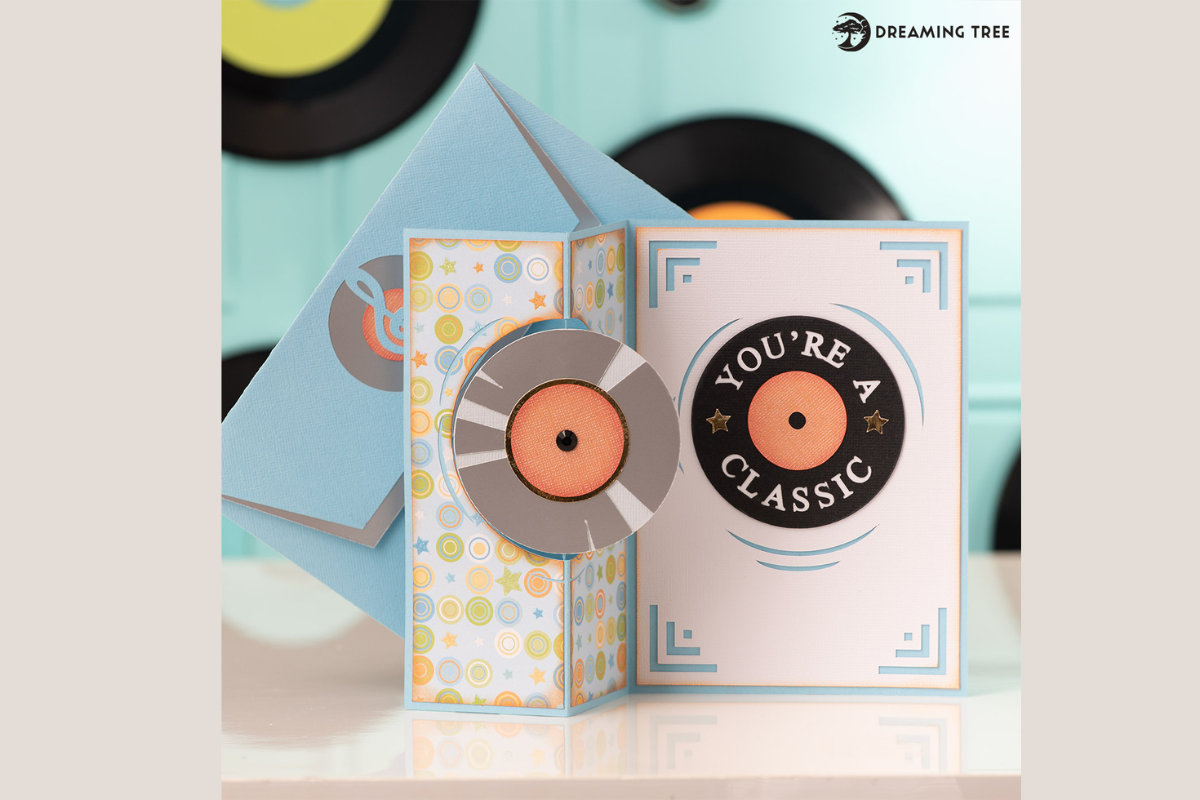
- The other ends with hot glue, scotch tape and blue string, and that string is the drive belt for a record that spins when you open the card.
Same cutting time for you, a different build at the end. The Hooray Birthday Card is the closer of the two: its last four lines name a velcro dot, not just glue.
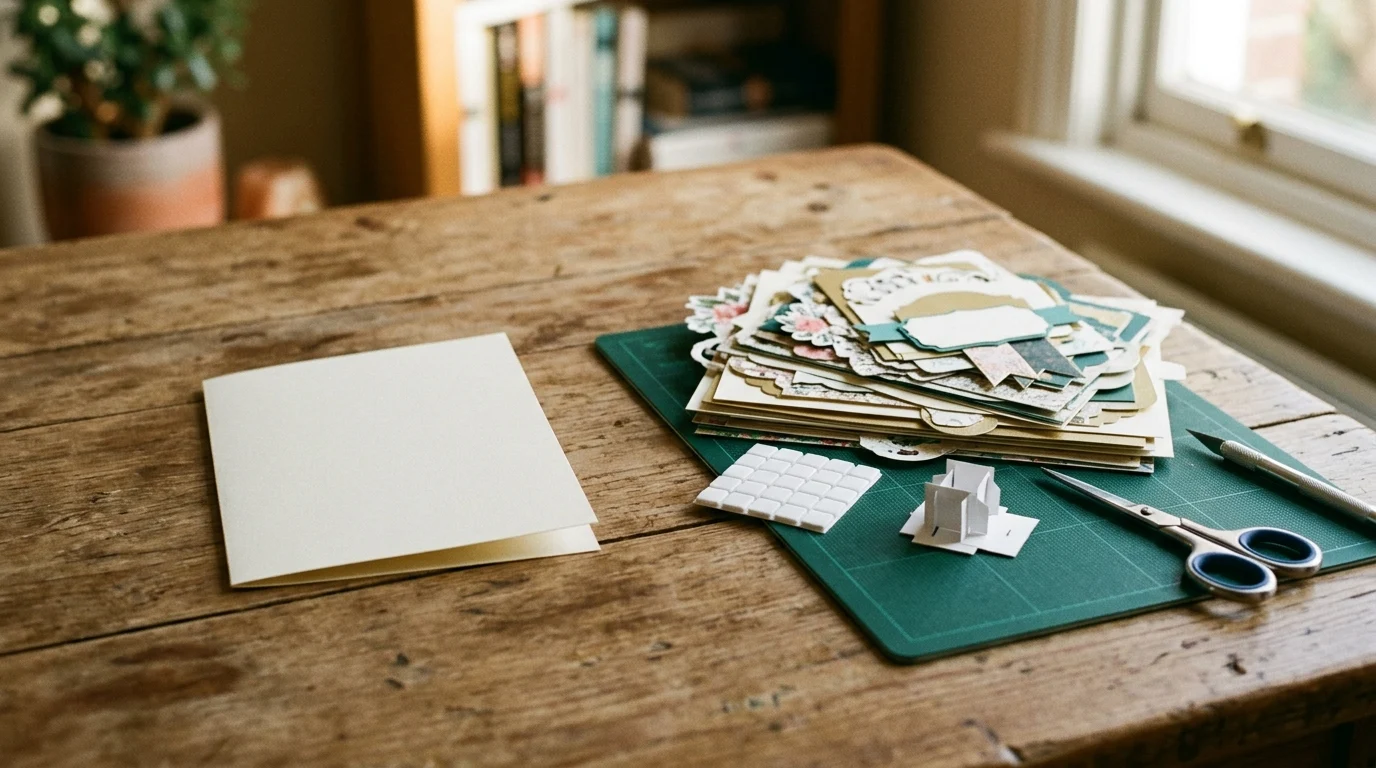
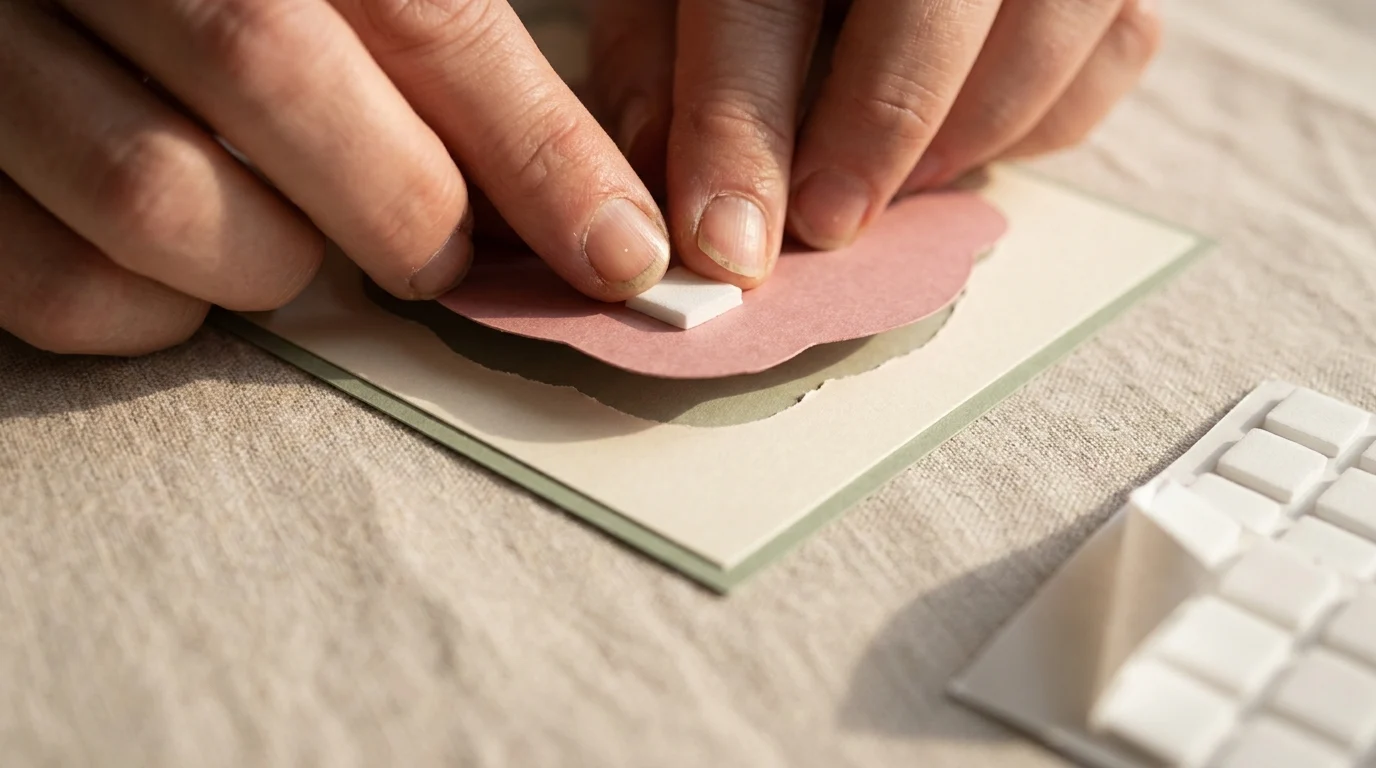
Foam squares are not decoration. They are the reason a layered card has depth at all, and a design that lists them is telling you which layers sit above the others rather than flat against them.
The assembly order that stops layers going on crooked
 Pin it
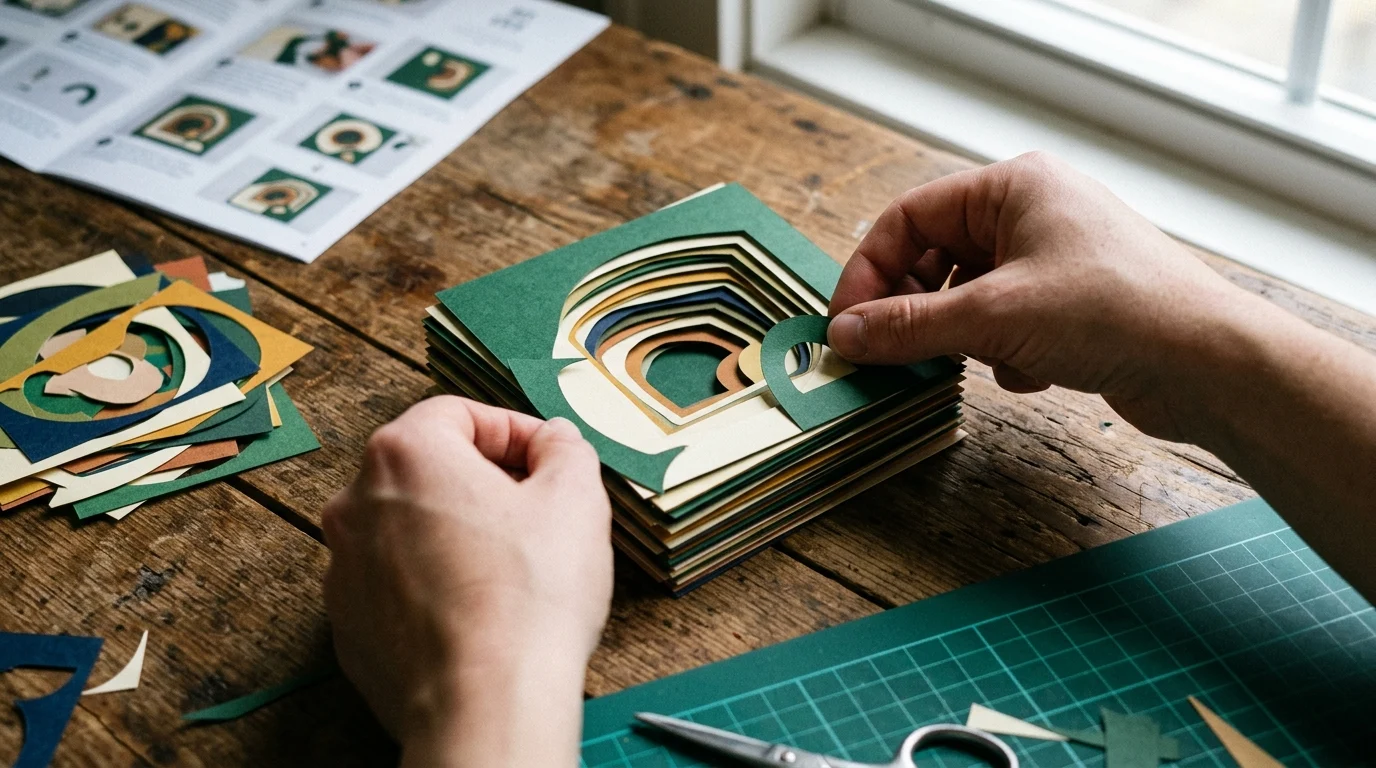
Every one of these downloads includes a PDF legend naming each piece, plus a step by step video you can pause on. The legend is not a packing list. It is the order you follow.
Work from the back panel forward, and dry fit every layer before adhesive touches it: a piece placed two millimetres off is visible from across the room. I learned that one the hard way.
Cardstock weight is part of the method: these designs are built around 80 lb cover, roughly 216 gsm. Lighter stock refuses to hold a raised layer.
Foam squares only earn their place where the preview shows a piece lifted, and the legend is where that is written down. The Platinum Record Spinner names its pieces the same way, so the guessing happens on screen rather than with glue in hand.
Step 1: Read the legend and count the sheets before you buy paper
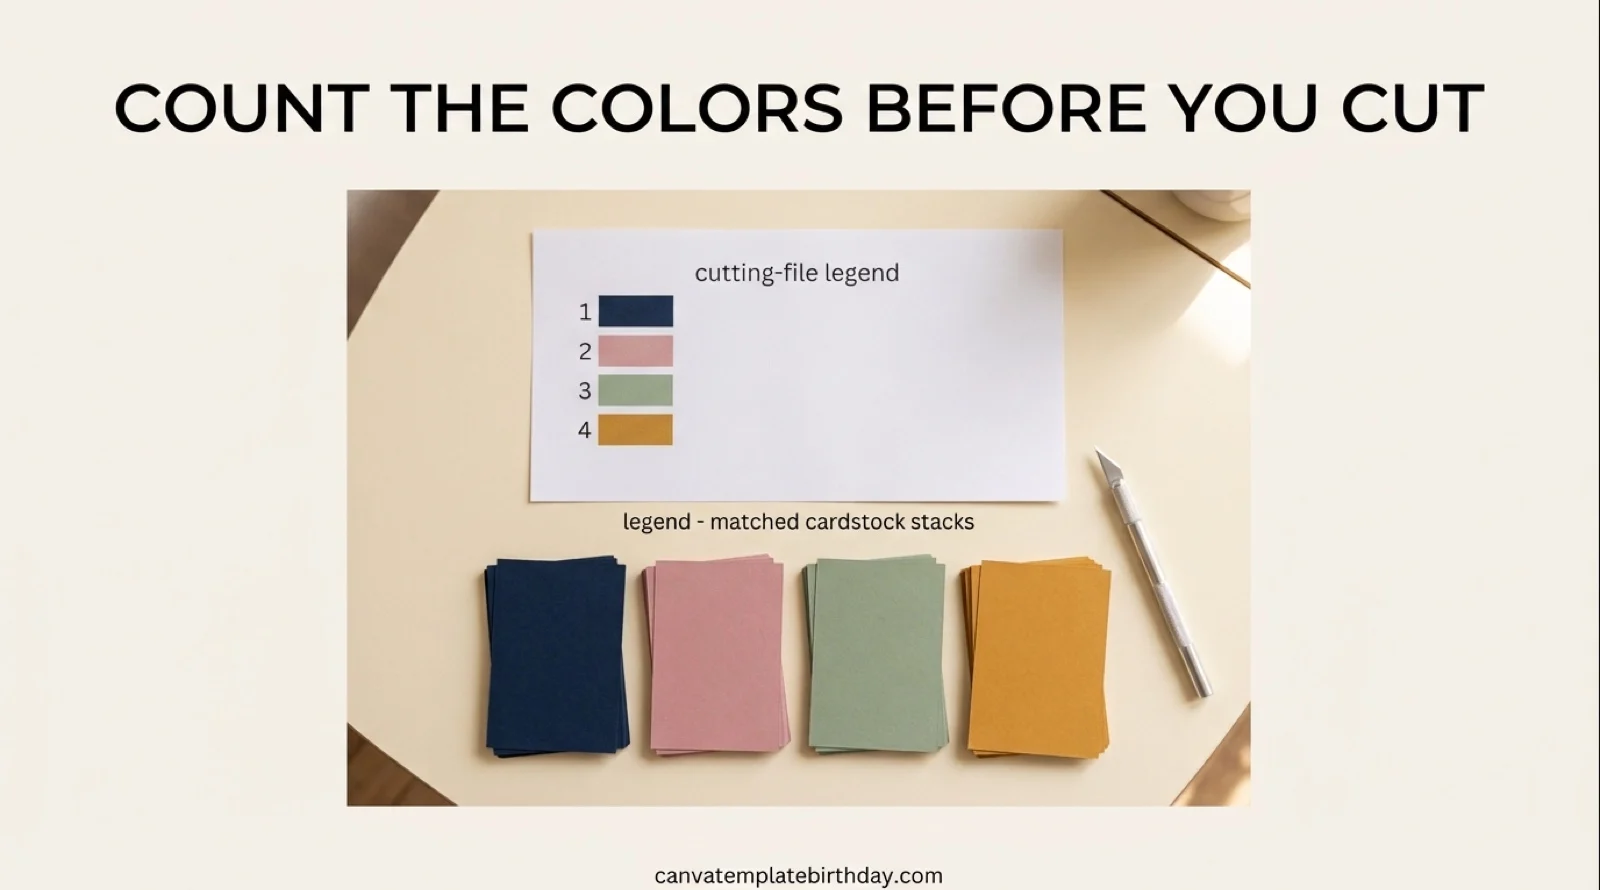
You open the PDF legend first, not the SVG. It names every piece and colour, and its sheet count is your real shopping list: eighteen for the retro card, nine for the spinner. Two minutes here saves you a second trip.
Step 2: Set blade depth for 80 lb cover, then cut a test piece
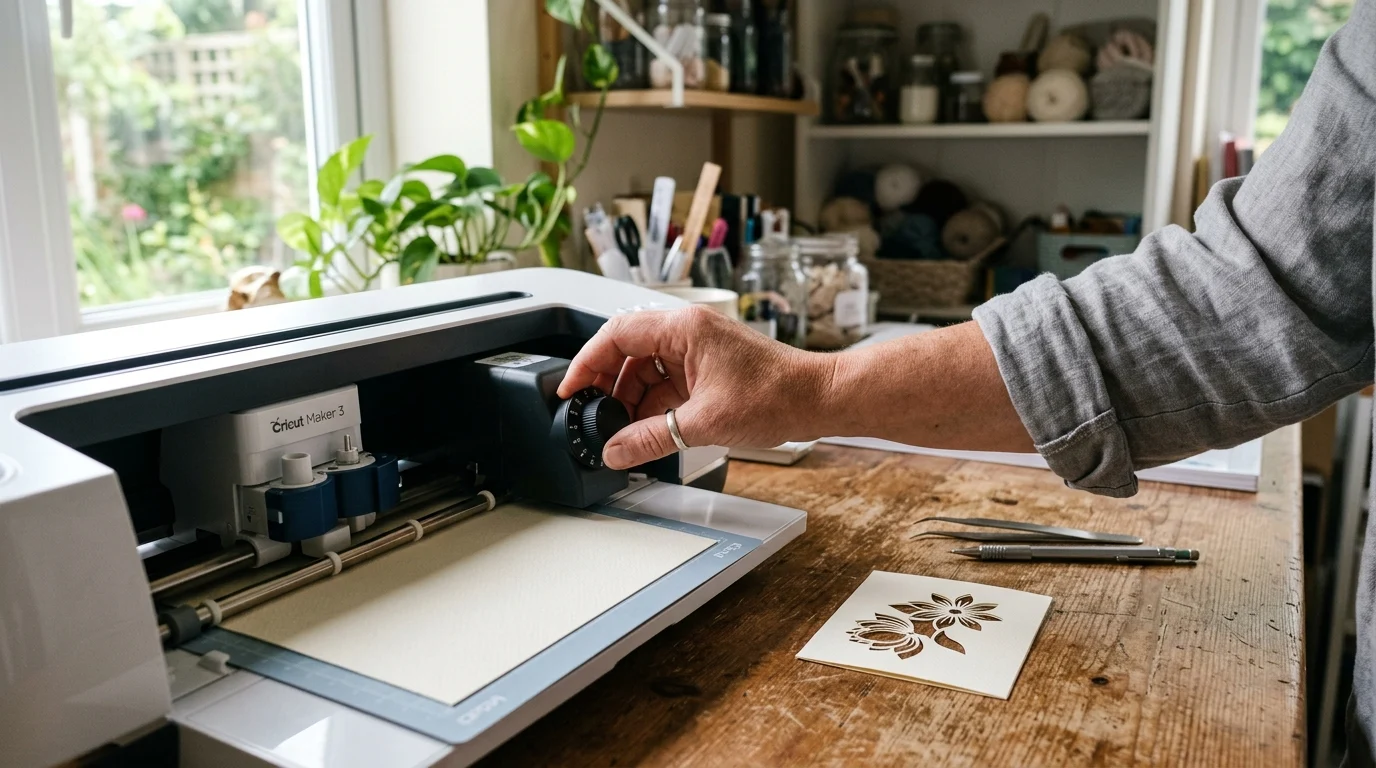
These files assume 80 lb cover, 216 gsm. You cut one small piece at your heavy cardstock setting and check the back of the mat: a cut that has not gone through tears at the corners when you weed.
Step 3: Cut in the order the legend numbers the pieces
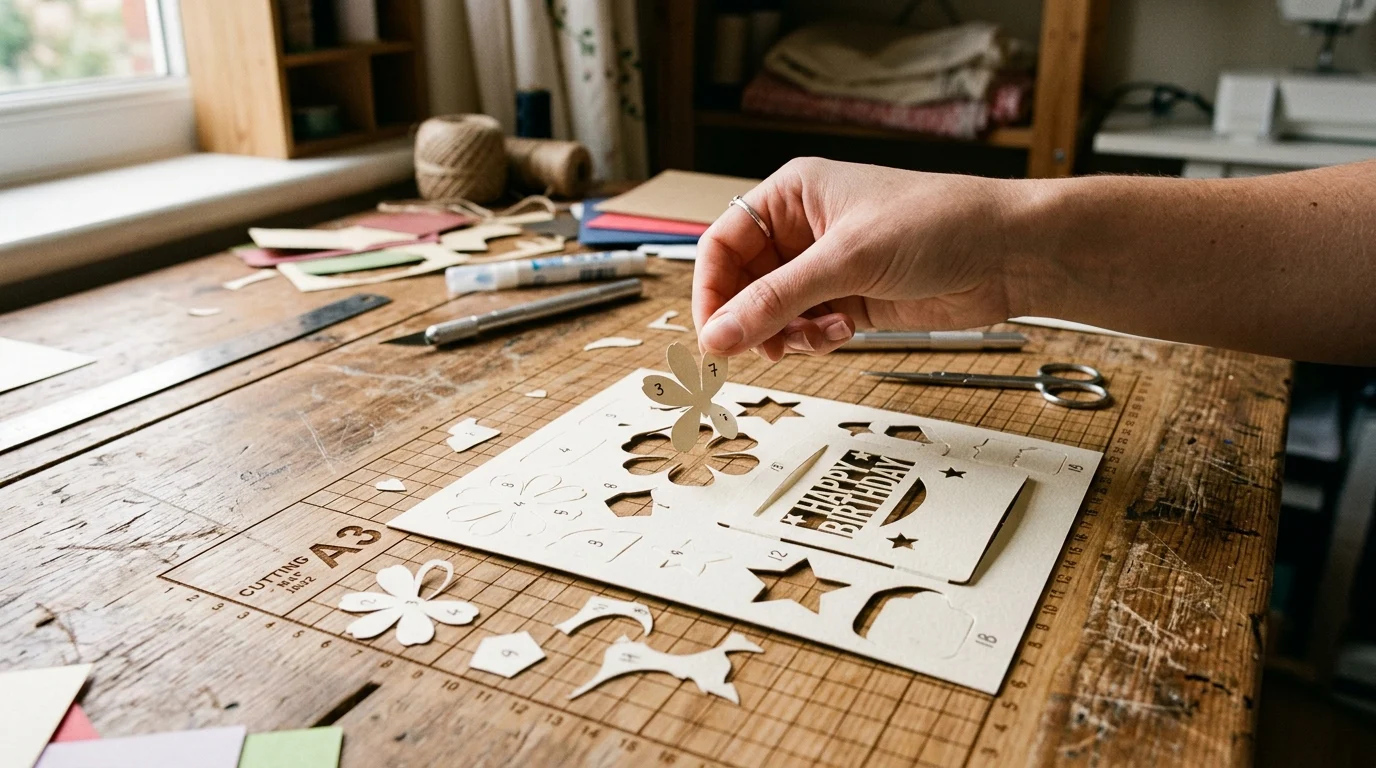
The numbering is not decorative. Pieces are grouped so a colour finishes before you change the mat, which is also the order you glue them in later. A file that numbers nothing is asking you to work it out at the mat: supply lists that number their cut order save you the evening that guessing costs.
Step 4: Weed and sort before any glue is open
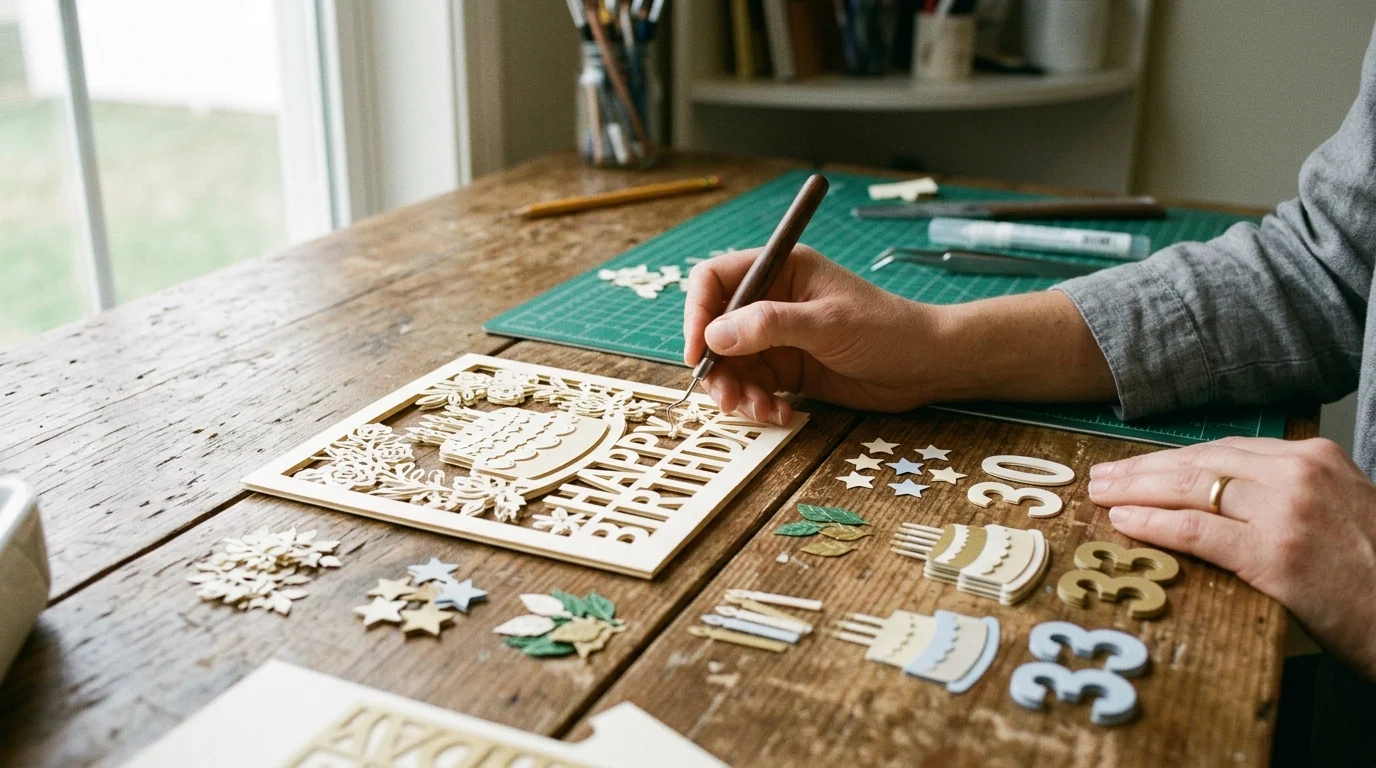
You weed each sheet as it comes off the mat and lay the pieces out in legend order. Small text and thin frames go missing first on you, and you cannot replace them without recutting a whole sheet.
Step 5: Dry fit the base and the first layer

You place the base and first layer without adhesive and look at the overhang. If that layer sits proud on one side, everything above it will lean the same way. Correcting it here costs you nothing; after glue, it costs you the sheet.
A dry fit also exposes a badly documented file: no named pieces, nothing to check fit against. Files that number their pieces in the legend are the ones this step works on.
Step 6: Glue the flat layers flat
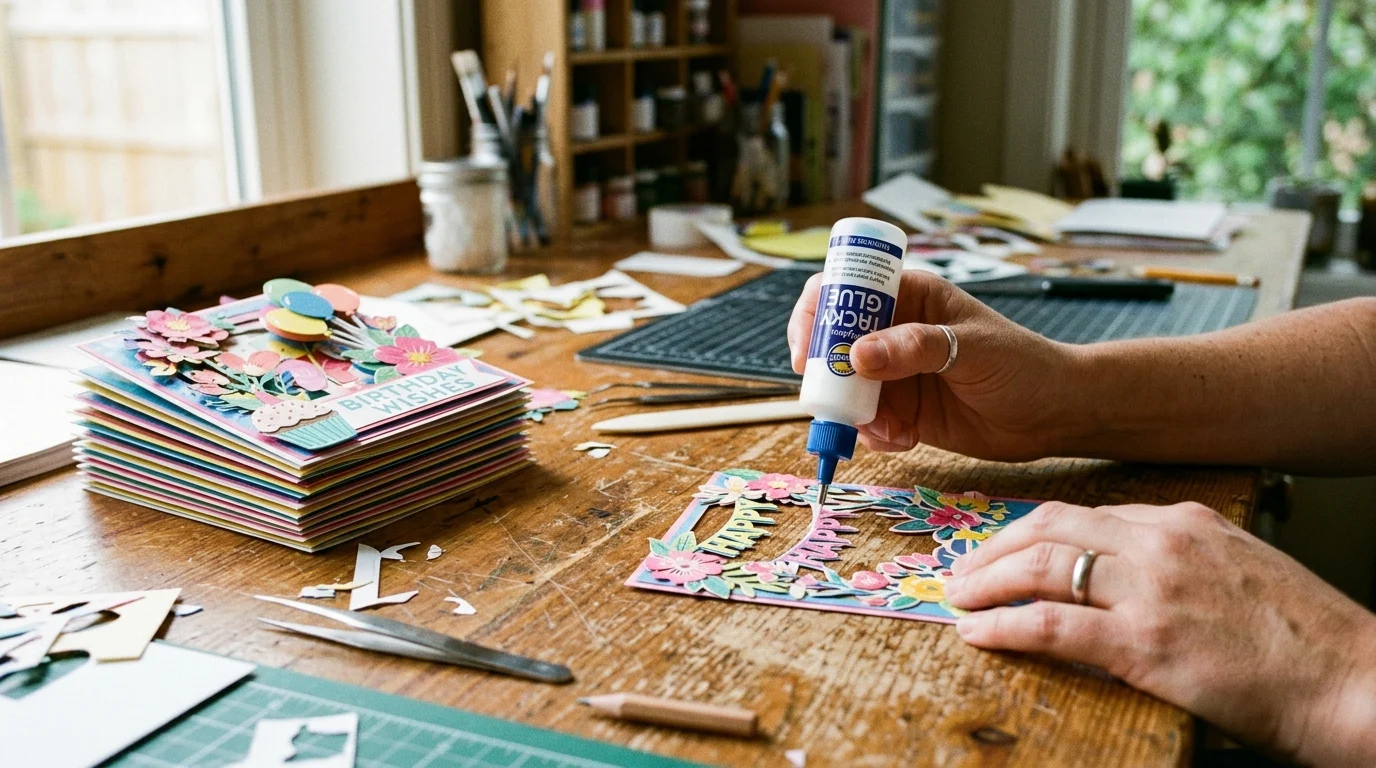
Anything the preview shows sitting flush, you glue down with thin glue, not foam. Foam under a flat layer lifts the stack and stops your card closing, which is the usual reason a finished card will not sit in its envelope.
Step 7: Lift the layers the preview shows floating

You put foam squares only where the preview shows a shadow. Two per piece is enough on a card this size; four makes the layer rock on you. The legend is written for this step, so check it rather than guess.
Step 8: Fit the mechanism, then test it before it is buried

On the spinner and the gatefold, you work the moving part with your fingers before the covering layer goes on. A mechanism that catches is fixable while you can still see it, and unfixable ten minutes later.
Step 9: Close it, then find the envelope
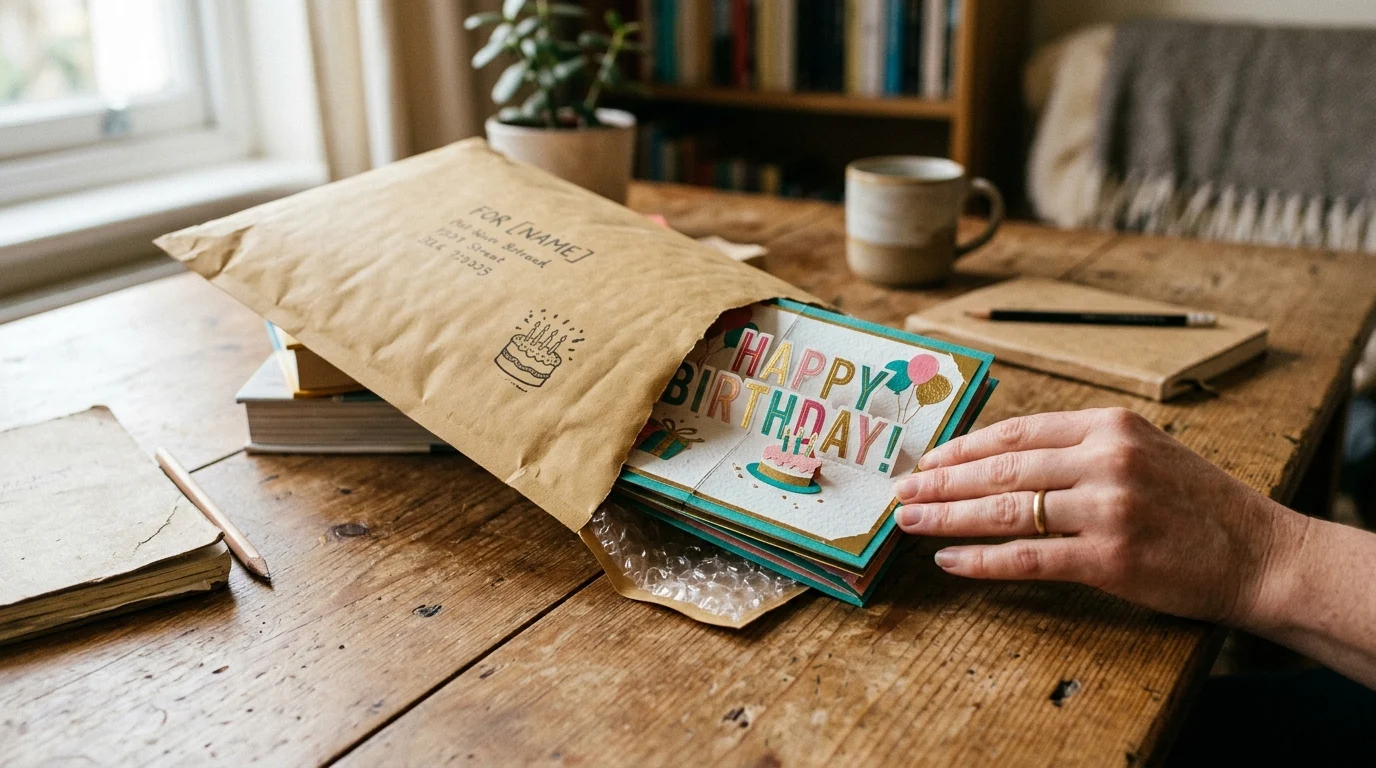
You close the card fully and check the depth against the envelope: the layered card and the spinner finish at 0.125 inches, the gatefold at 0.25. On the gatefold, the envelope you need is in the extras folder, not beside the card files. I always check this before I glue the last layer. If your envelope drawer is the weak point, how to match a Cricut birthday card to the envelope you already own covers the sizing.
Step 10: Embellish last, ink the edges last of all
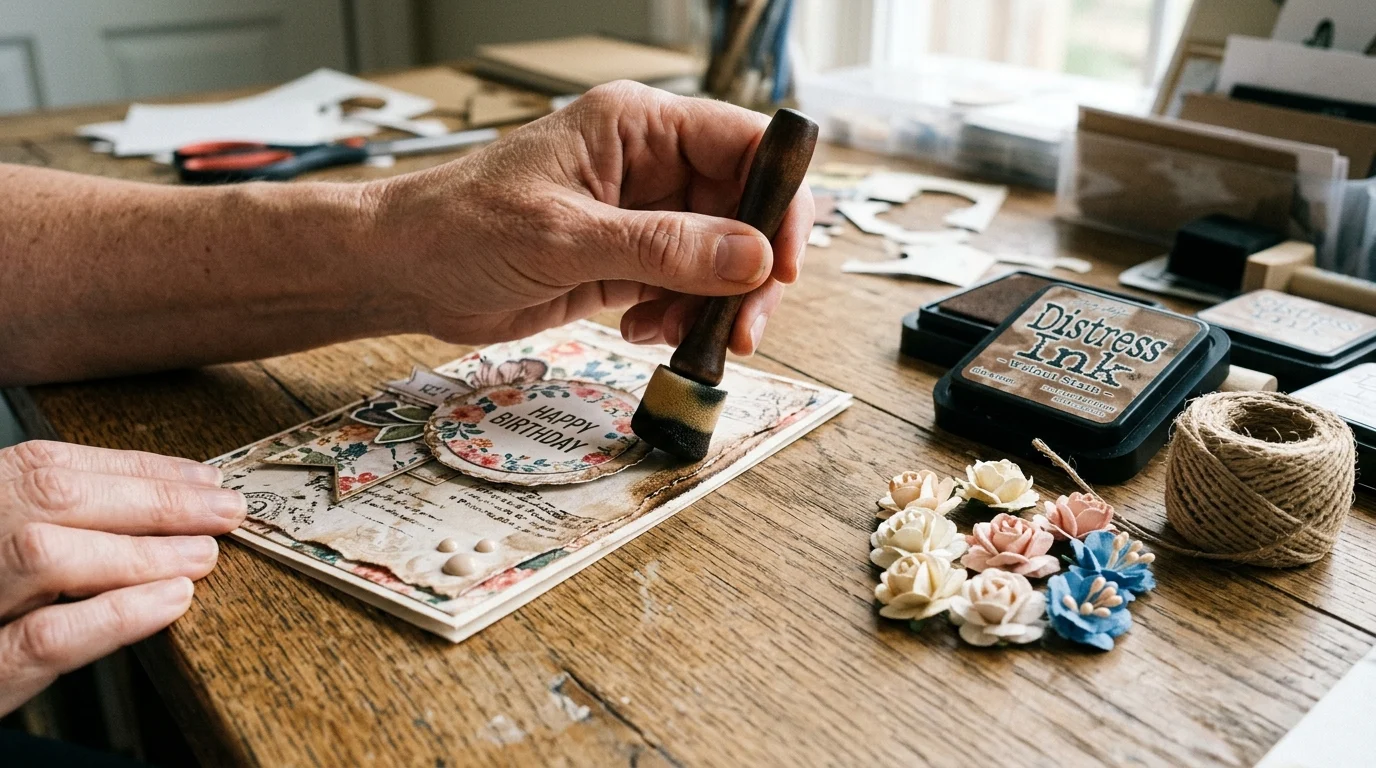
You add rhinestones, pearls and pen detail only once the build is dry. Edge inking is your last pass: done earlier, it transfers onto every piece you handle afterwards.

When the build goes wrong, and what it looks like
 Pin it
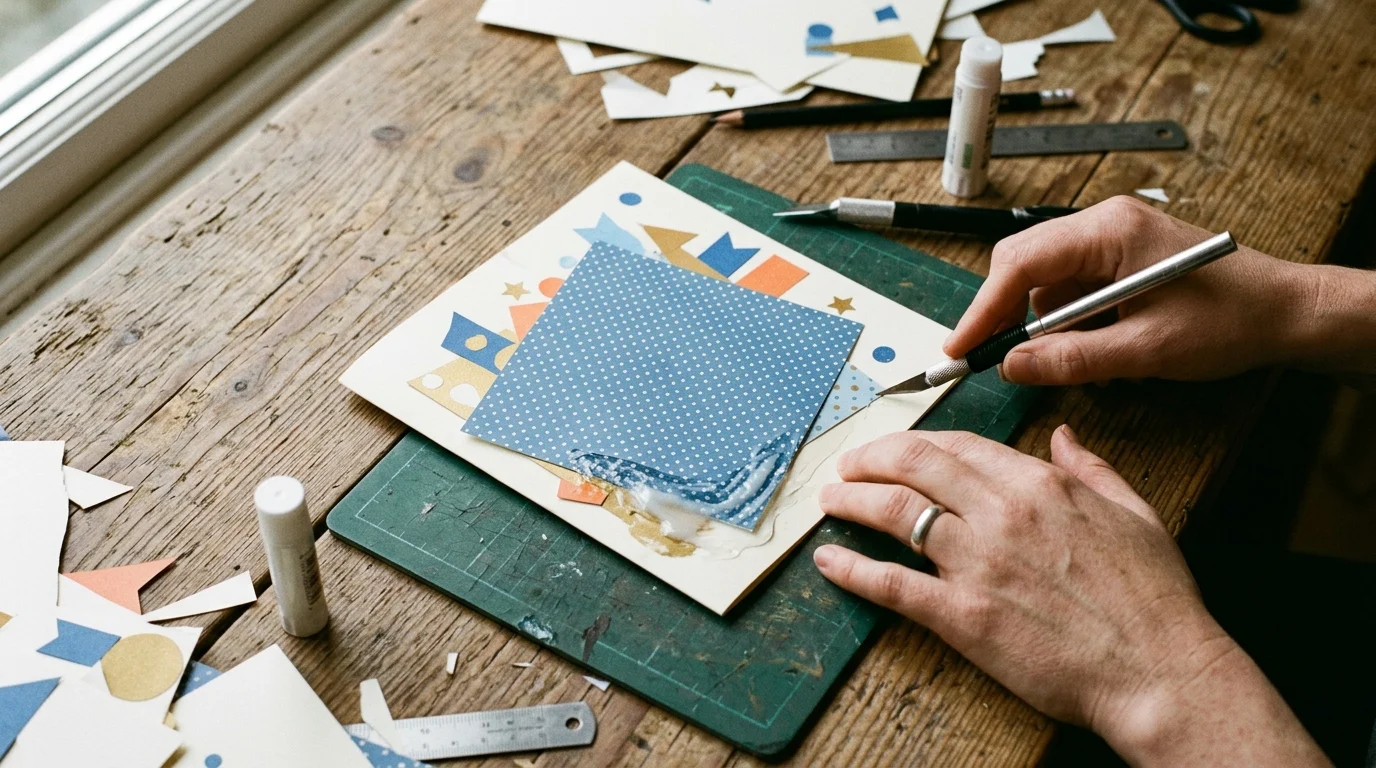
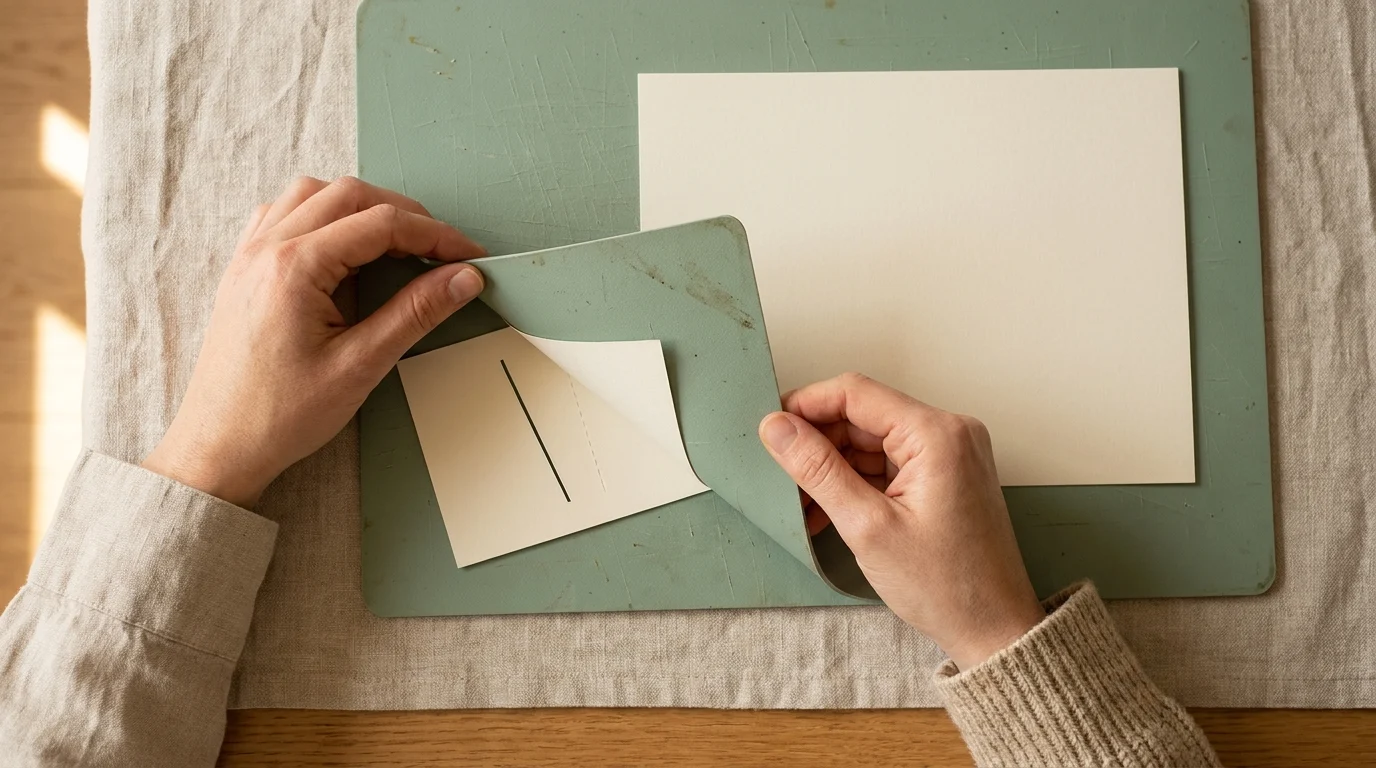
Three failures account for most abandoned builds, and I have made each one at least once.
- A layer that will not sit flat: foam where glue belonged, and the card springs open.
- Missing letters: weeded before it was fully cut.
- A jammed mechanism: covered before tested, so it shows once finished. This is the exact spot the Platinum Record Spinner build catches people.
All three are caught by one habit: stop at each step and look at the card closed, while a sheet is left to recut. For a slower evening, pop-up birthday cards you can still finish the same day swap the mechanism for a simpler fold.
Four builds, from glue only to hardware
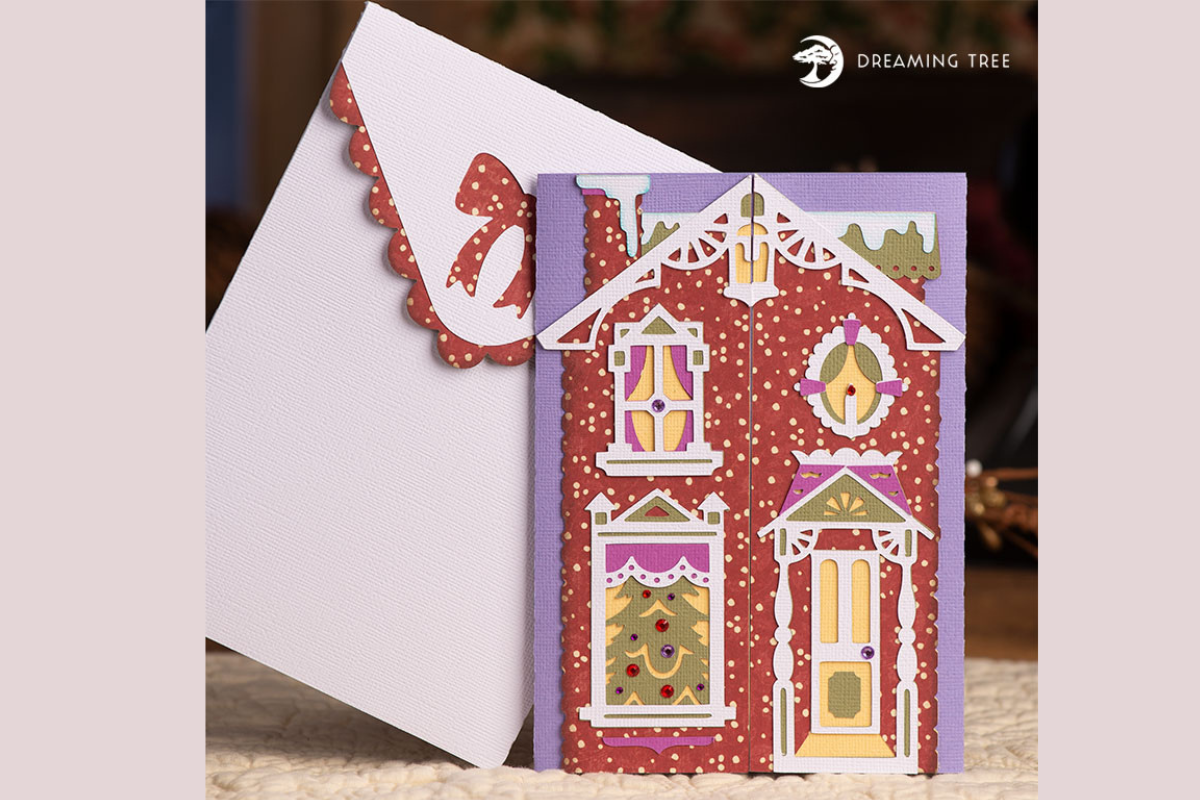
Four is how many published a complete non-paper supply list. Files that stop at the cardstock are out, however good the preview looks.
Level one: glue and foam squares
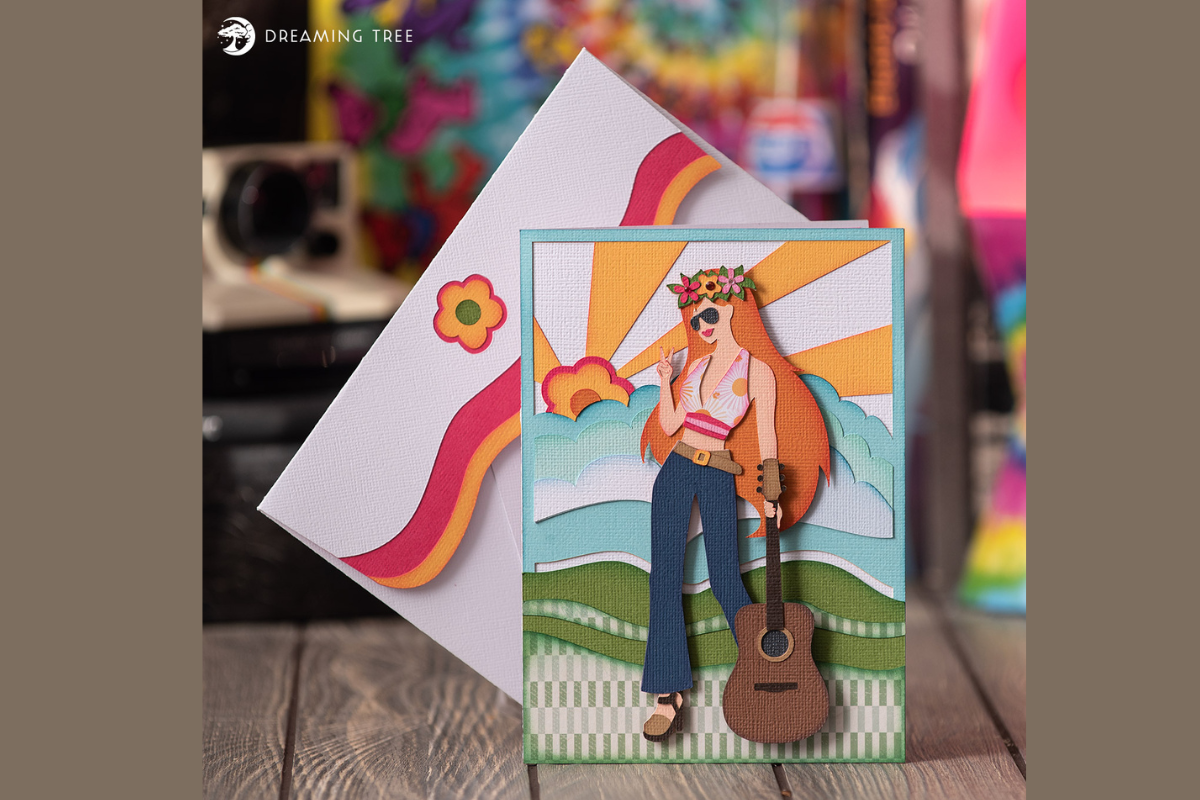
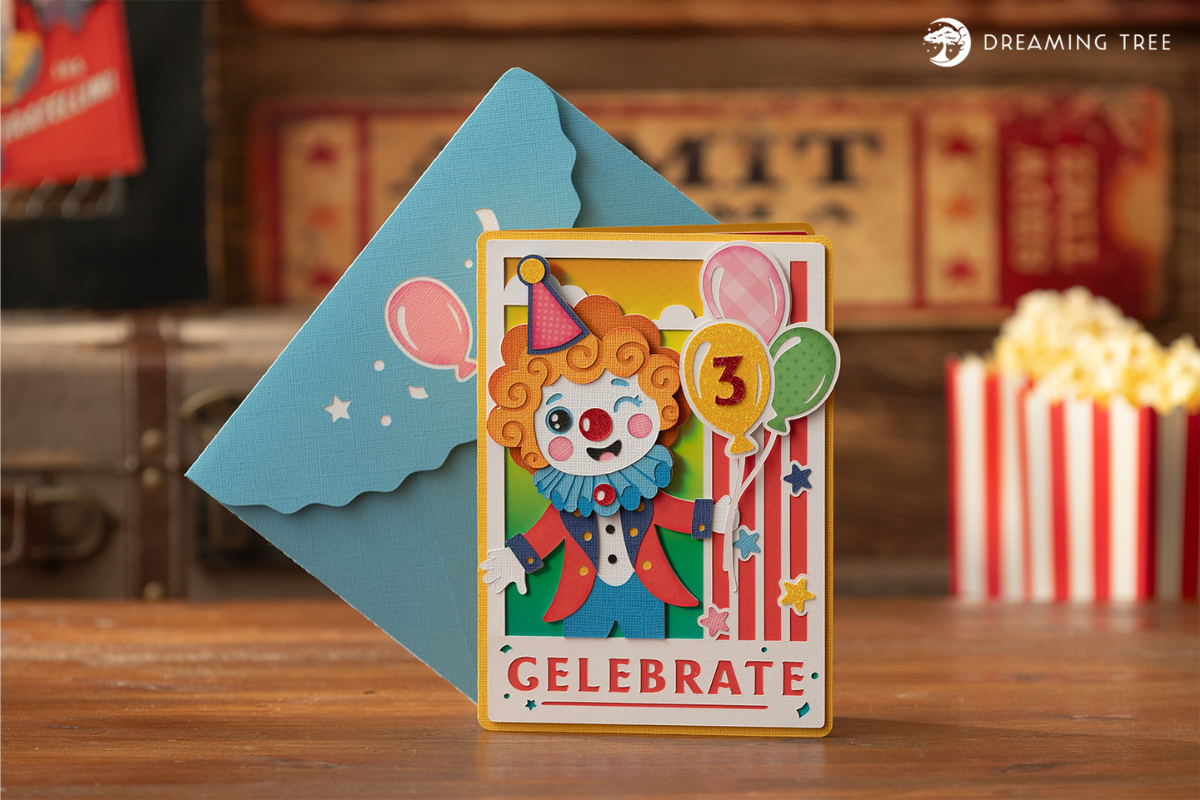
Carly Greeting Card SVG
Seventies-styled layered card, 7 by 5 by 0.125 deep, eighteen sheets. Non-paper: glue, foam squares, edging pen.
Best if this is your first layered card.
Level two: a closure
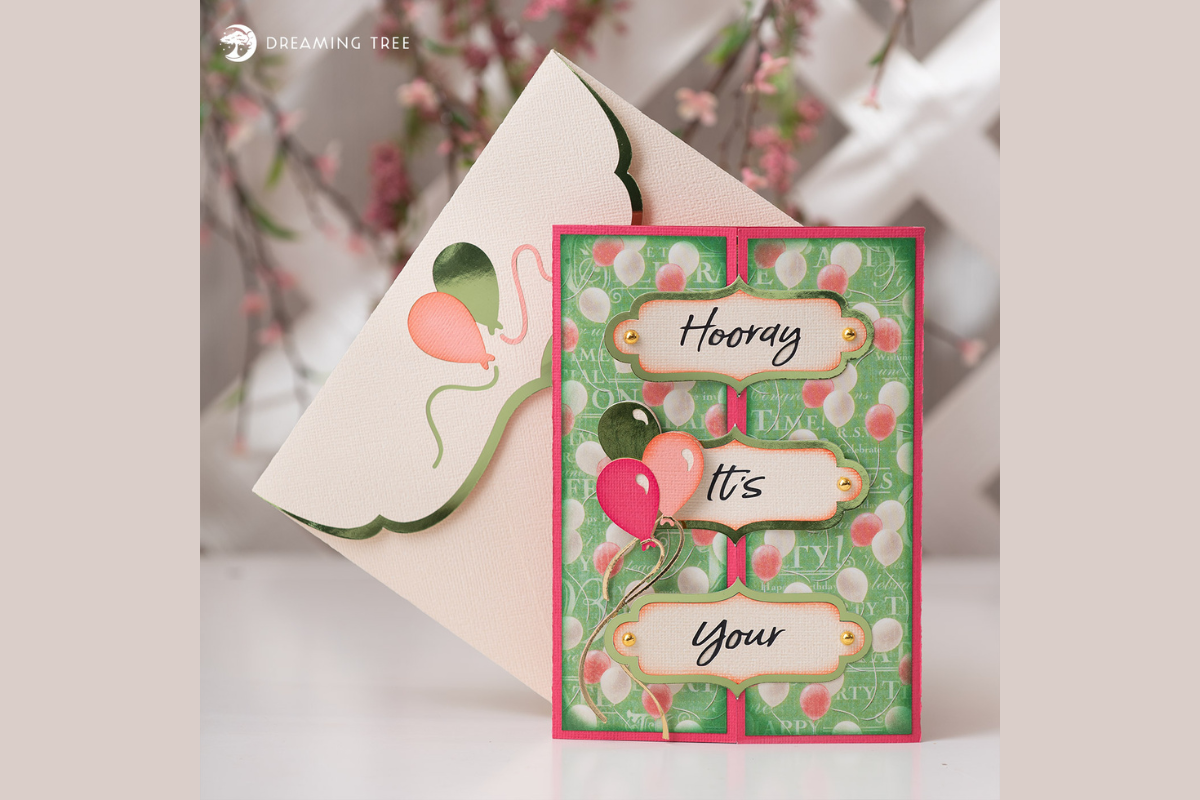
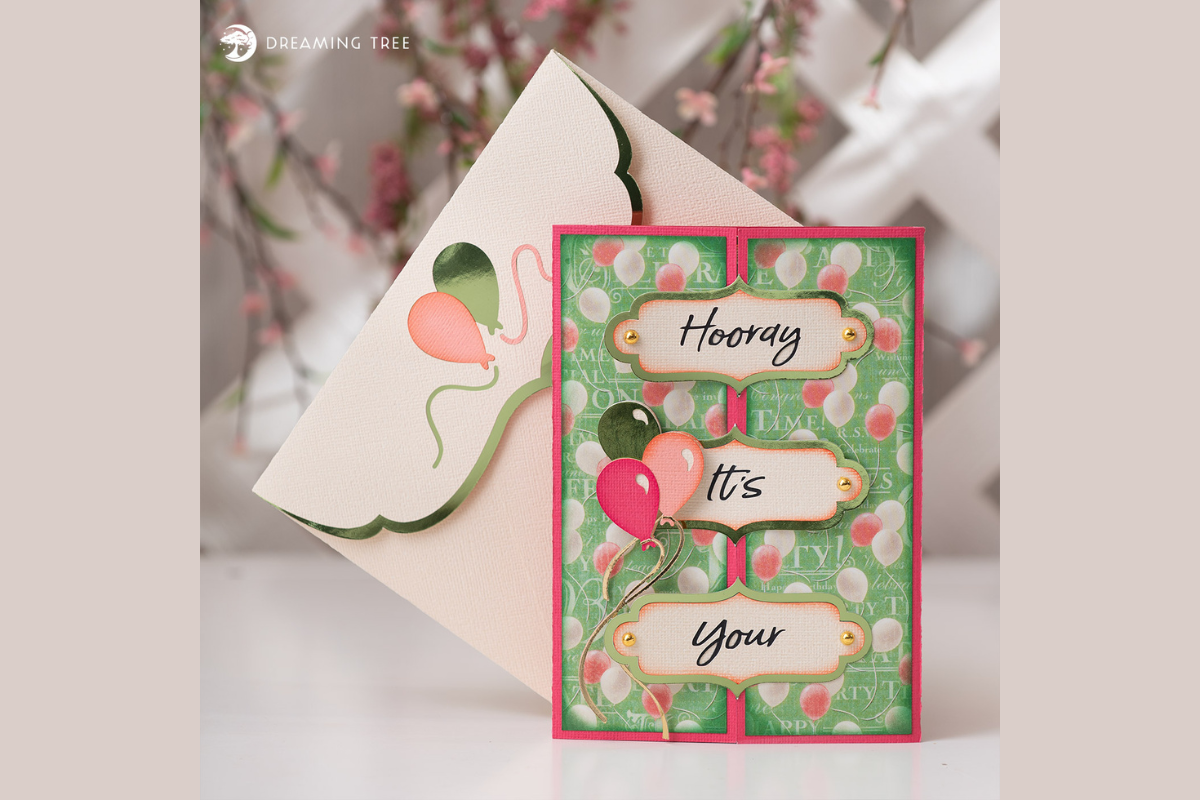
Hooray Birthday Card SVG
Gatefold revealing “Birthday,” 7 by 5 by 0.25 deep, nine sheets. Adds a velcro dot, and without it the gatefold sits open.
Best if you want the reveal.
Level three: a moving part
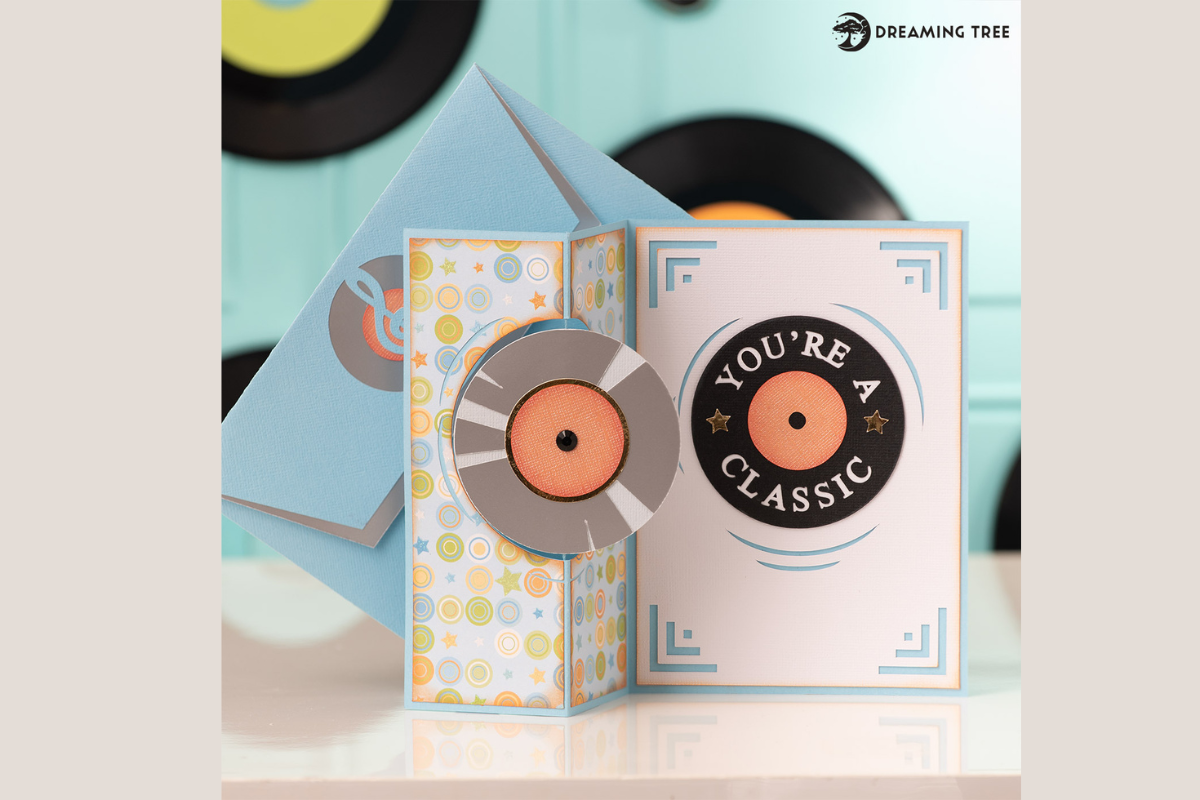
Platinum Record Spinner Card SVG
A vinyl record spins on opening, 7 by 5 by 0.125 deep, nine sheets. String is the mechanism, because thread won’t carry the wind.
Best if they’ll open it twice. Not for hot-glue beginners.
Level four: structure, dowels and lights
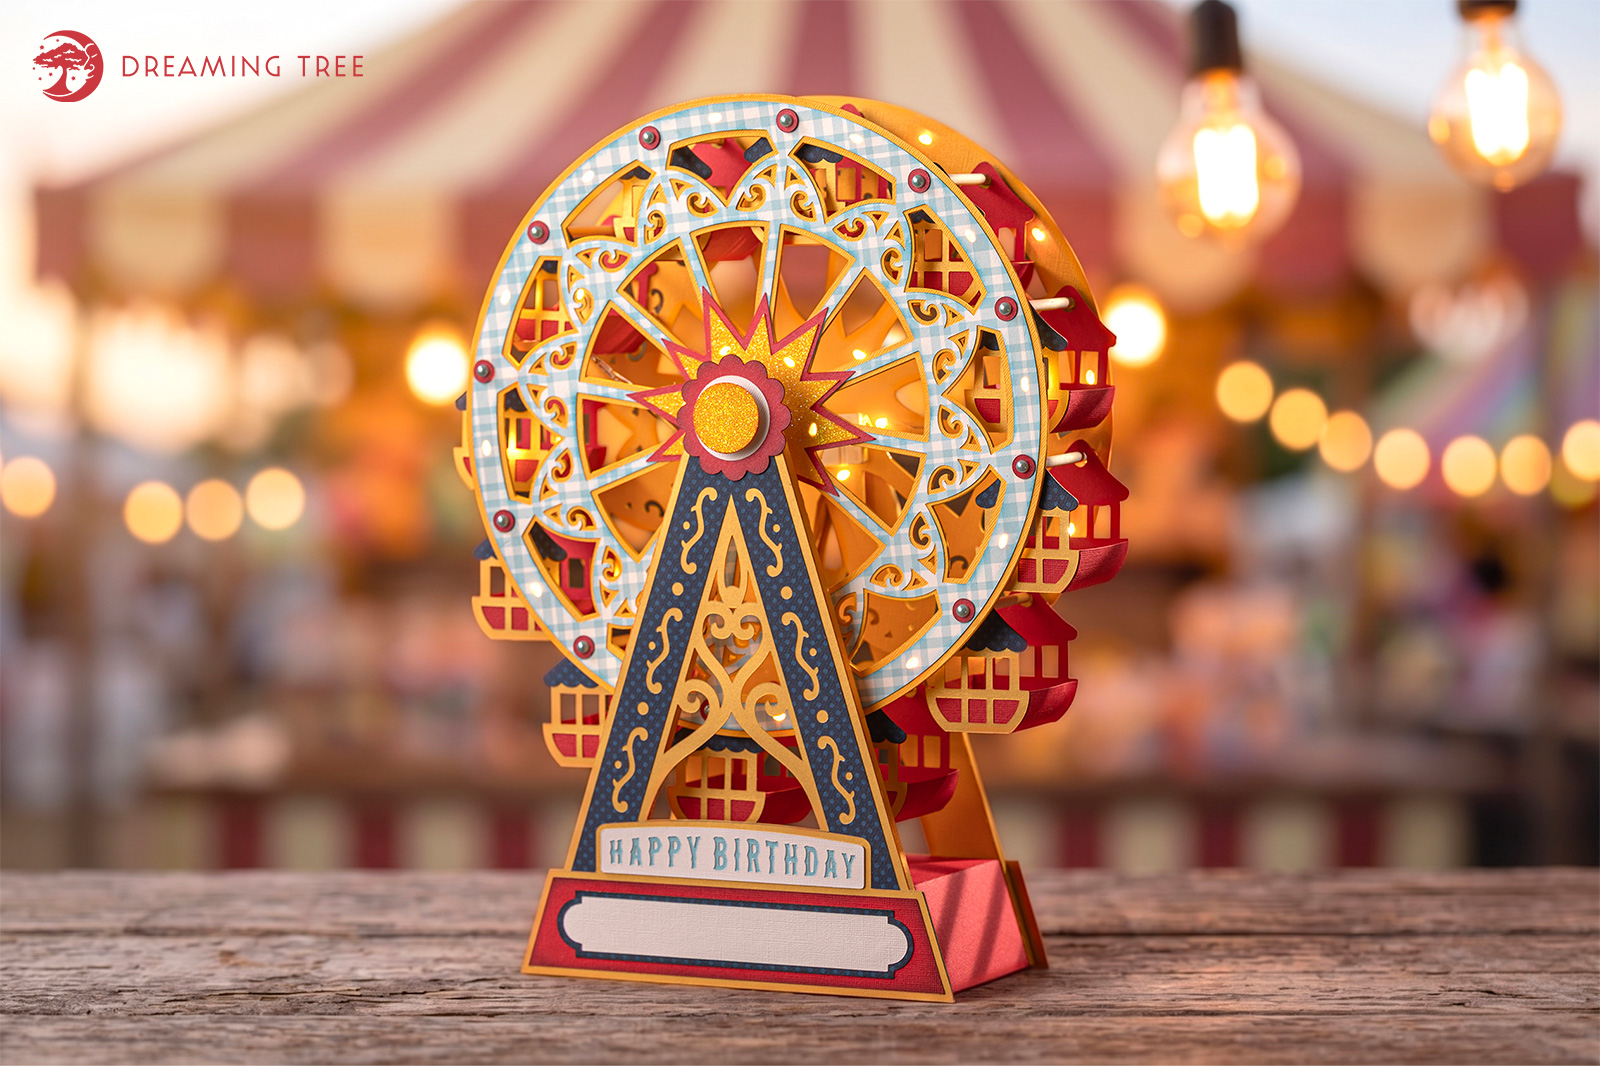
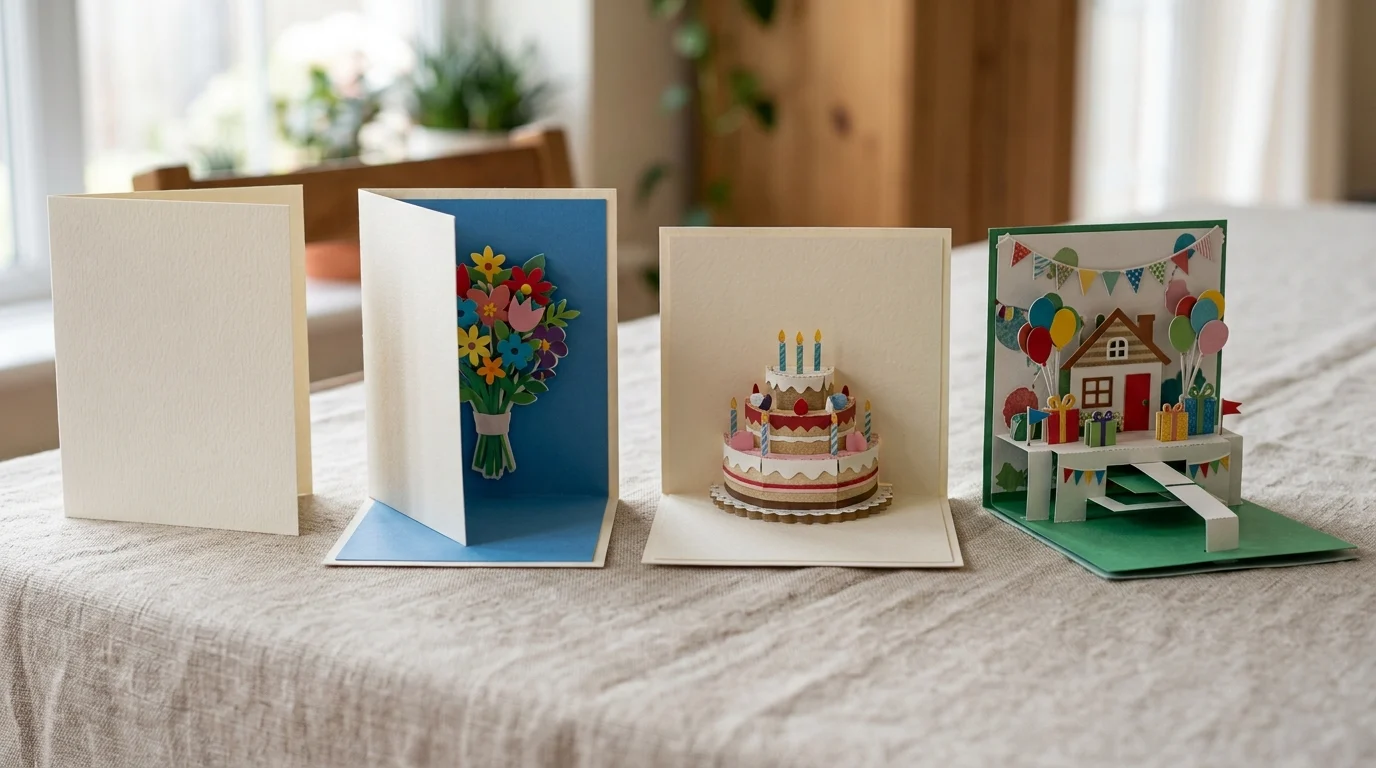
Midway Ferris Wheel
A layered carnival wheel centrepiece-card, thirty sheets across seven colours. Adds foamcore, dowels and fairy lights, none of them craft-drawer items.
Best if the card is the decoration. Not for anything going in an envelope.
What the whole pool asks for, and one design left out
 Pin it
Across thirty-seven vetted paper card files from this studio, thirty-one publish a supply list: sixteen call for foam squares, six for hot glue, four for acetate, three for a velcro dot, and one for foamcore, dowels and fairy lights.
| What the file asks for | How many of the 31 published lists | What it means for the build |
|---|---|---|
| Foam squares | 16 | Layers meant to float; the shadow gap is the design. |
| Hot glue | 6 | Something heavier than paper is going on the card. |
| Acetate | 4 | A shaker window, not a stack: a different build entirely. |
| A velcro dot | 3 | A gatefold that has to stay shut to travel. |
| Foamcore, dowels, fairy lights | 1 | Not a tier, a single build. Read it before you commit an evening. |
Six of the thirty-seven publish no supply list at all. Files that publish theirs are the ones you can plan an evening around. So before you buy, you can sort the whole pool into four honest tiers:
- Glue and foam squares only: you need nothing from a hardware aisle.
- Add hot glue or a velcro dot: you are closing or weighting something.
- Add fishing line or string: you are building a moving part.
- Add foamcore, dowels or fairy lights: you are building a centrepiece, not a card.
The Retro Gamer Shaker card was the obvious fifth entry and is not on the ladder: acetate puts it in a different family, a shaker holding loose pieces behind a window, and its page states no finished depth.
Read the finished depth too. The layered retro card and the record spinner both list 0.125 deep; the gatefold lists 0.25, because two panels close over each other, and a quarter inch of cardstock will not slide into a card shop envelope.
Where a free 3D card file runs out
 Pin it
The instructions are the product: cut lines are easy to give away, but a legend naming every sheet and a stated list of extras take a studio to produce. Here is what you actually get:
- You get the non-paper supplies named up front, not discovered mid-build.
- You get a layer order from a PDF legend, not a guess from the cover photo.
- You get the finished depth stated, so you buy the right envelope first time.
I check all three before I recommend a file, and a studio file that spells out its extras is the one that saves you the second trip to the craft aisle.
| What you need to finish it | Free file | Studio file |
|---|---|---|
| Non-paper supplies named | Almost never | Listed, including optional items |
| Layer order | Work it out from the photo | PDF legend plus video |
| Which pieces sit on foam | Guesswork | Implied by the supply list and shown in the video |
| Mechanism parts for a spinner or gatefold | Not mentioned | Named down to the string and the dot |
| Finished depth before you buy an envelope | Rarely stated | Stated on the product page |
Browse 3D birthday card files with full supply lists
To sort the pool by paper colours, see 3D birthday cards you can finish in one evening, or for floral designs, 3D flower birthday card files sorted by the paper you have to go buy.

Questions people ask partway through
| What the supply list names | What it means for the evening |
|---|---|
| Glue only | Paper on paper, one sitting |
| Foam squares | Layers that lift, still one sitting |
| Hot glue, velcro dot, fishing line | A mechanism to assemble and test |
| Foamcore, dowels, fairy lights | A centrepiece, not a card |
How to make 3D birthday cards in a batch, not one at a time
Batching changes which build you pick, not how you cut. Here is how I run a batch:
- You take a level one design, so there is no mechanism to repeat six times.
- You cut every copy of the same sheet in one pass, so your mat is loaded once per colour.
- You keep the pieces sorted by legend number in separate piles, not one big pile.
Six glue-only cards is an evening. Six with a closure or a spinner is six mechanisms, and that is where your enthusiasm goes.
What is the easy way to make a simple 3D birthday card at home?
Start at level one: glue and foam squares, no closure, no hardware.
How to make a 3D birthday cake card, pop-up or layered
Same as any layered card: the tiers are the layers, so their order is fixed from the back forward. Dry fit the cake first.
Can I make a 3D birthday card with paper alone, without a cutting machine?
These are cut files, and hand cutting a thirty piece design is a different project. With no machine, a single fold card with two or three hand cut layers is the honest version: files that state palette, weight and extras up front let you answer these questions at the drawer instead of at the mat.
How do you make a 3D greeting card for dad rather than a generic one?
Change the palette and the embellishment, not the structure.
Is a DIY 3D flower card any harder than a happy birthday one?
Flower designs run to more, smaller pieces, so weeding is the long part, not assembly. Count pieces on the legend rather than judge by the photo.
Why does my card not close flat?
Usually a layer glued where it should have been foamed, or the reverse. Check for a velcro dot before assuming the fold is wrong.
Will these files work with my Cricut, Glowforge or Silhouette?
All four open in Design Space or Silhouette Studio the same way. Check blade depth for 80 lb cover before the first cut.
Still choosing which build to take on first? The Midway Ferris Wheel carries the longest supply list on this page and reads as the honest stress test of a paper drawer.
Key takeaways
- Read the non-paper lines before you buy. They are the specification, not an afterthought.
- Glue only means an evening. Fishing line, velcro or hot glue means a mechanism. Foamcore and dowels mean a centrepiece.
- Foam squares create the depth. A design that lists them is telling you which layers float.
- Assemble back to front, dry fit before glue, embellish only after the card closes.
- Eighty pound cover cardstock holds a raised layer. Lighter stock cuts easier and then collapses.
Still deciding which build is worth your evening? Browse the full pool of 3D birthday card files with supply lists stated up front and pick the tier your drawer is actually ready for.